
An Integration Account allows you to build Logic Apps with enterprise B2B capabilities by adding various necessary artifacts. It serves as a central repository for managing integration assets, including schemas, maps, certificates, and trading partner agreements.
While nowadays Logic App Standard natively supports Schemas and maps (without the need for an Integration Account), there is also a new transformation editor called Data Mapper (still in preview). Logic App Consumption still requires us to use the Integration Account and still uses the “old kind of related BizTalk Server Mapper”.
📝 One-Minute Brief
Logic App Consumption still relies on Integration Accounts for B2B and enterprise integration artifacts. This article explains how to create an Integration Account project in Visual Studio 2019, including required tools and templates, so you can build schemas and maps for Logic Apps.
Pre-requirements
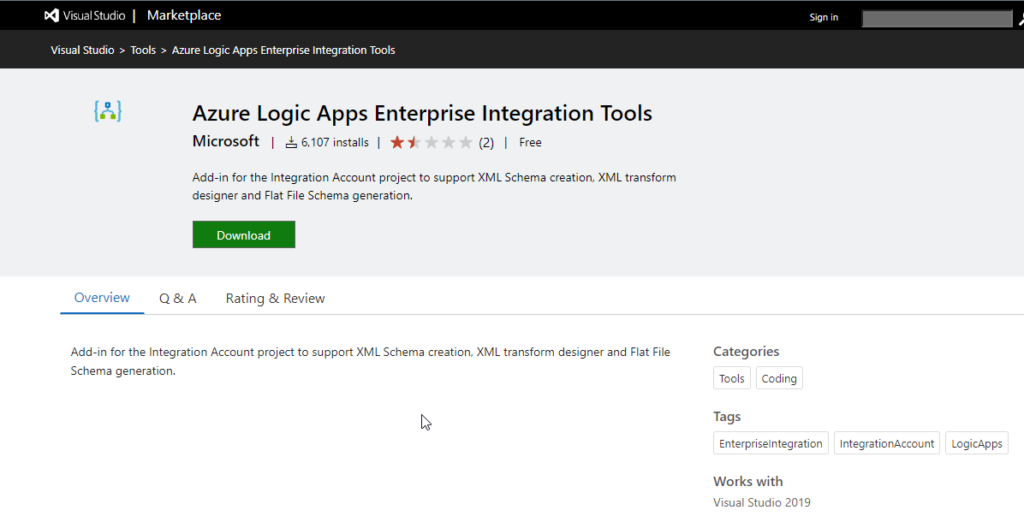
So, for us to create, in our developer environment, Schemas and Maps for Logic App Consumption to be used inside an Integration Account, we need to install the Azure Logic Apps Enterprise Integration Tools extension for Visual Studio 2019 – unfortunately, there is no support for recent versions of Visual Studio. To do that, we need to:
- Download and install the extension from the Visual Studio Marketplace:
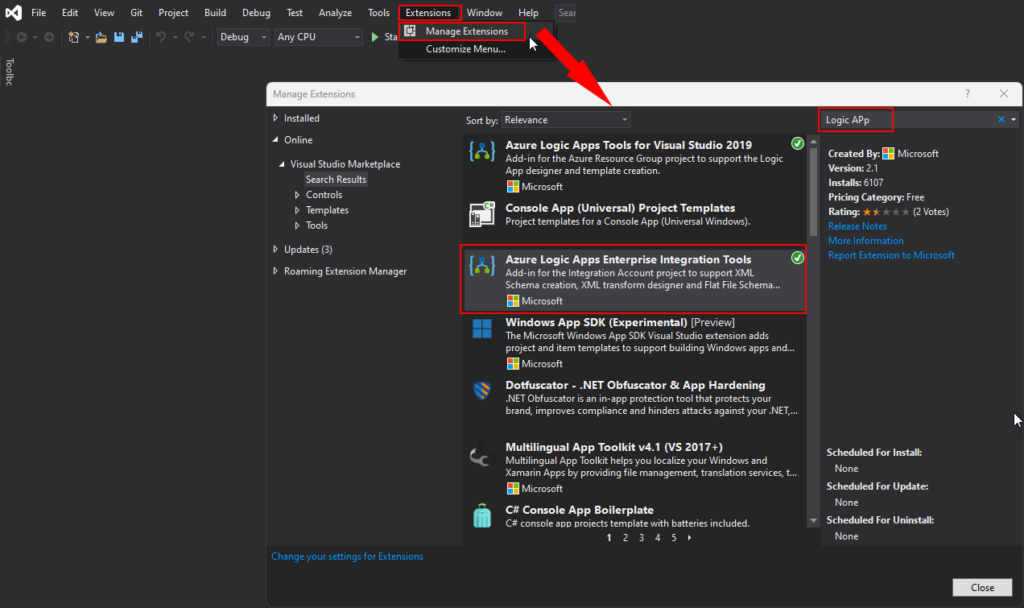
- Or install it directly on Visual Studio by:
- Open Visual Studio 2019, and on the Extensions menu, select the option Manage Extensions.
- Search for Logic App, and then from the list, select to download and install the Azure Logic Apps Enterprise Integration Tools.
- You will probably need to restart Visual Studio.
Create an Integration Account Project
Now that we have installed everything that we need to create a new Integration Account Project, we need to:
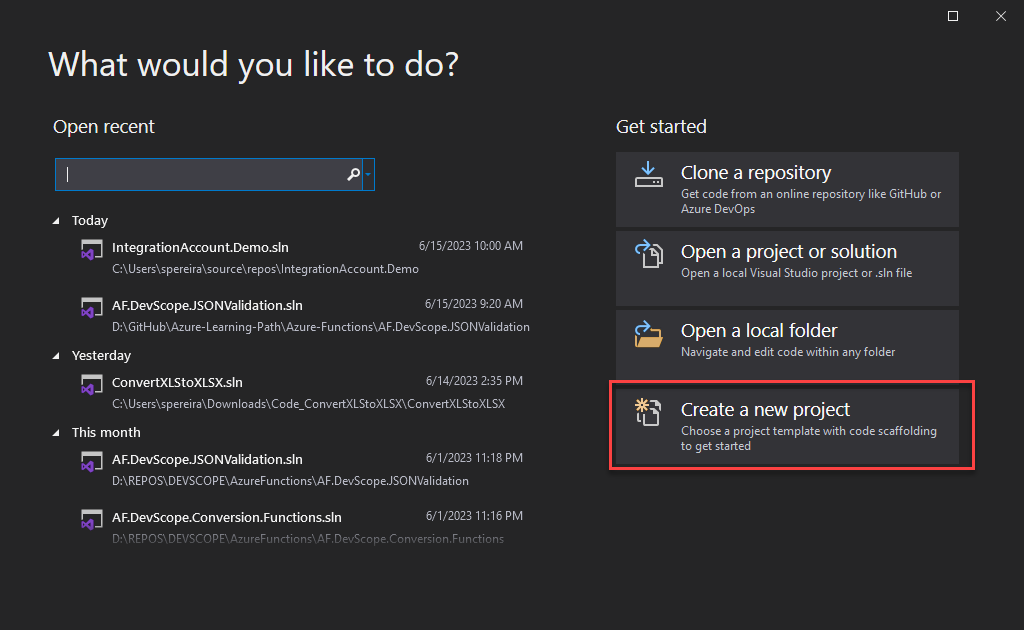
- Open Visual Studio 2019 and on the What would you like to do? window select the Create a new project option.
- In the Create a new project window, search for Integration Account, select the Integration Account template from the list below, then click Next.

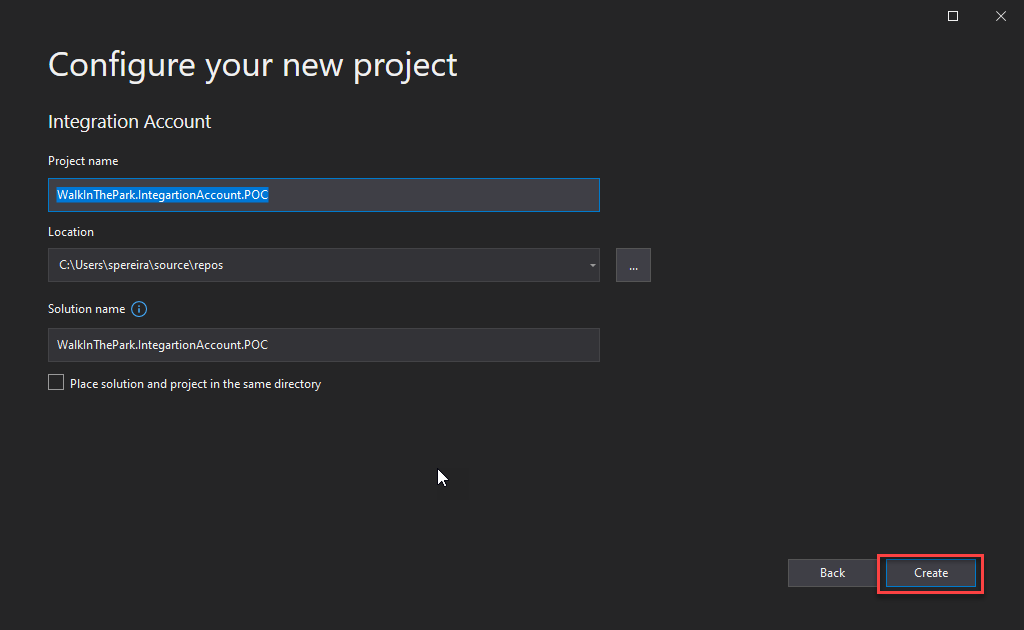
- In the Configure your new project window, do the following configurations and then click Create:
- On the Project name property, set a proper name for your project.
- On the Location property, set the path where you want to create the project.
- On the Solution name property, set a proper name for your project.
- Note that a solution is a container for one or more projects in Visual Studio.
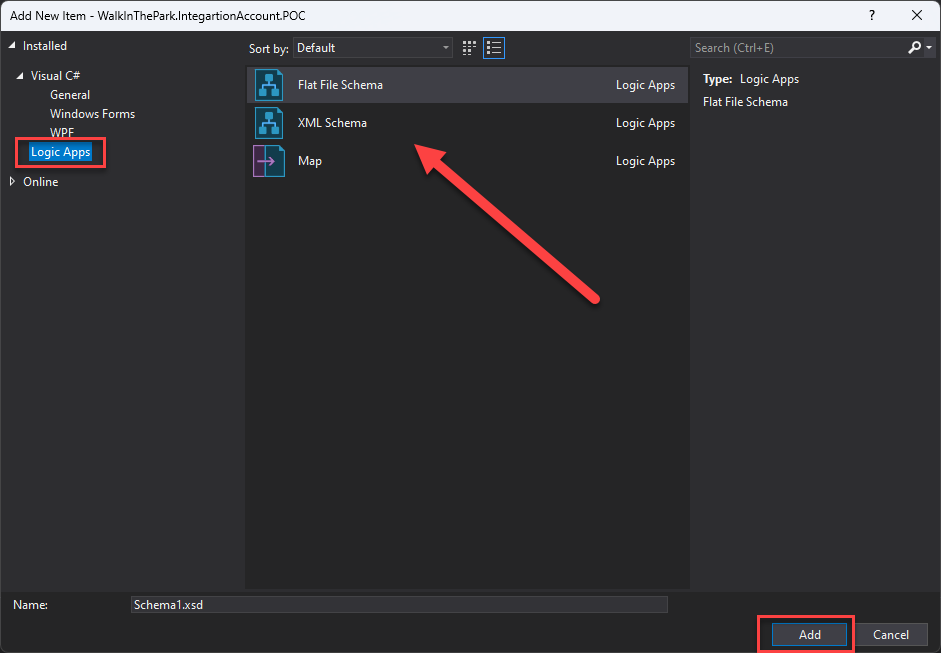
After that, a new Integration Account project is created where you can create your Schemas, Flat File Schemas, and Maps. To do that, you just need to:
- Right-click the project name, then select Add > New Item…

- On the Add New Item window, in the left tree, select the Logic Apps option, and all the possible artifacts for you to create will be present.
- Select the type.
- Give it a proper name.
- And click Add.
Hope you find this helpful! So, if you liked the content or found it helpful and want to help me write more content, you can buy (or help buy) my son a Star Wars Lego!


I Sandro,
I hope your are doing well, and thank you for this article.
Do you know if this functionality is still supported on VS 2022?
Stéphane
No. Only for VS2019