Welcome again to another Decoding Logic App Dilemmas: Solutions for Seamless Integration! In this POC or dilemma, the goal we want to achieve is to merge different file types (with different extensions like .pdf/.png/.jpeg) into a final PDF document. How do you use this in a Logic App?
But first, why would we need this?
A good example is Automated Report Generation:
- Companies often need to compile reports from different departments, including textual and financial data in PDFs and graphical data in image formats. This function can automate merging these diverse file types into a single comprehensive PDF report, ready for distribution or presentation.
- Insurance companies can use this function to automate the assembly of claim documents, including forms (PDF) and photographic evidence (images), into a single PDF file for each claim, streamlining the review and approval process.
- Compiling evidence in various formats, including scanned images, into a single document is often necessary in legal fields. This Azure Function can streamline the creation of case files or portfolios by merging all relevant documents into a single, organized PDF file.
These are just a few examples where this can be applied, and of course, this is just a POC that gives room for improvement.
Creating the Storage Account
First, to make this POC work, we need to create, or if we already have, a storage account. Here are the steps to do it:
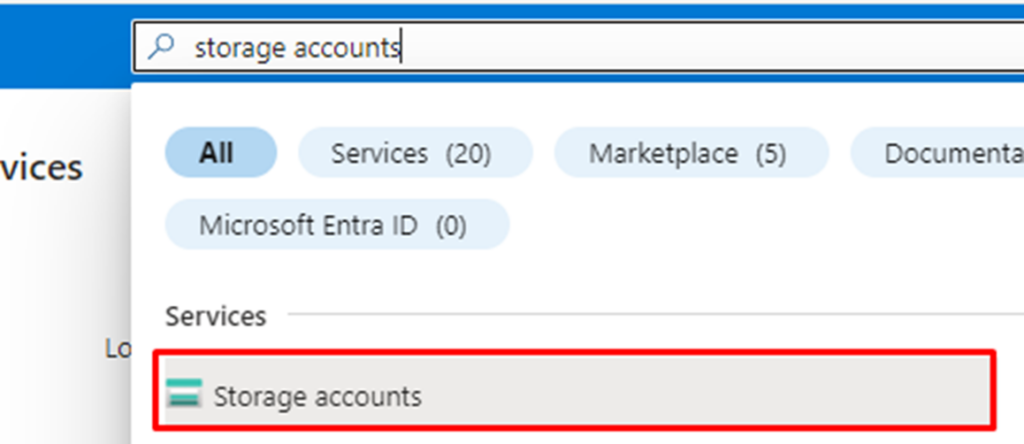
- In the Azure Portal, search for the Storage accounts and click on it:
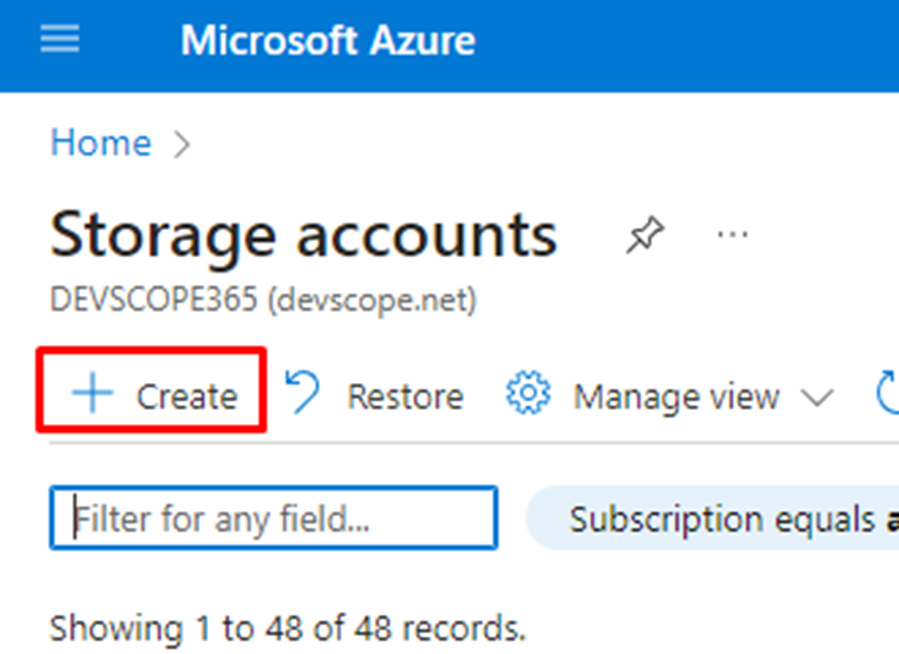
- Next, click on + Create.
- Now you need to populate some fields:
- Your subscription
- The resource group
- Give a name to the storage account and select your region
- As for the performance, choose the Standard.
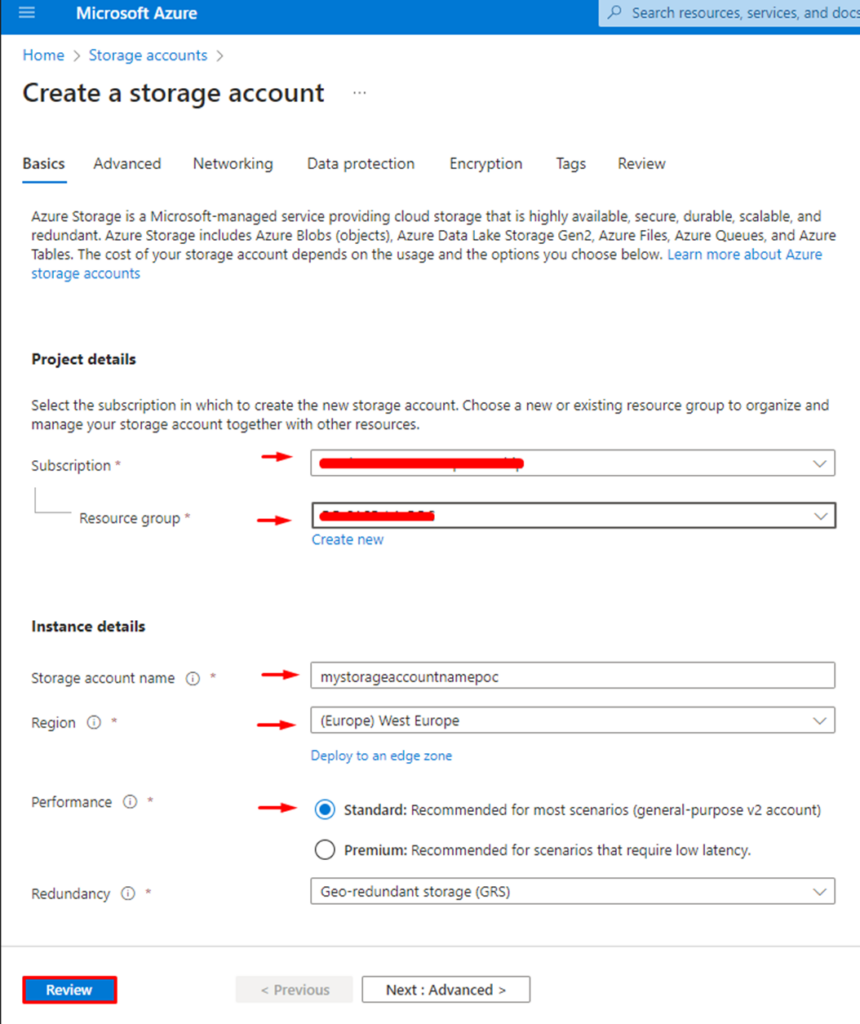
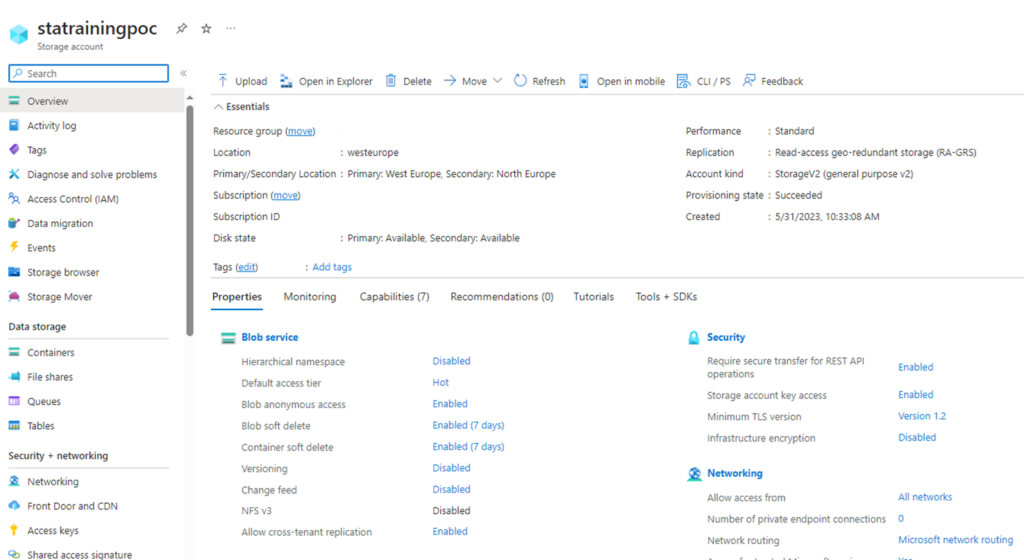
- Now, this is what your storage account should look like:
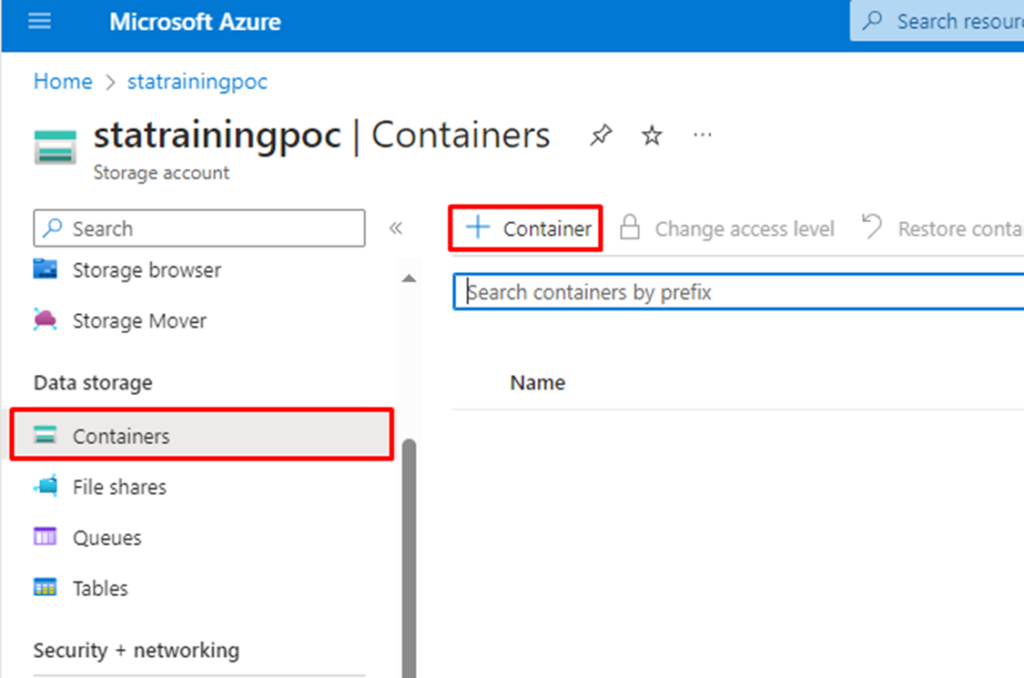
- On the overview page, click on Containers next to + Container to add a container.
- Next, a new window will open, and you should choose your container name, and on the drop-down menu of the anonymous access level choose Container (anonymous read access for containers and blobs).
- Nex click on Create.

- In our case, we added 2 containers (as you should) and named them:
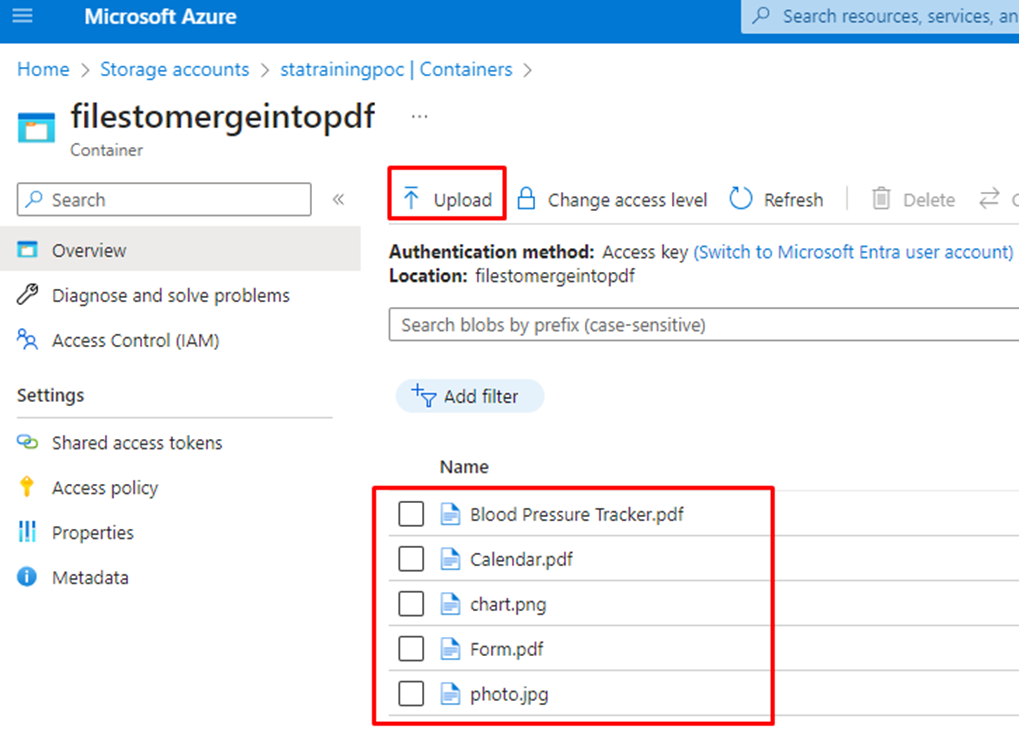
- filestomergeintopdf (here we will upload the files that we want to be merged)
- generatedpdfs (here we will store the generated PDF files)
Creating the Azure Function
Now that the storage account and these two containers have been created, it is time to move on to the Azure Function. To do that, you need to:
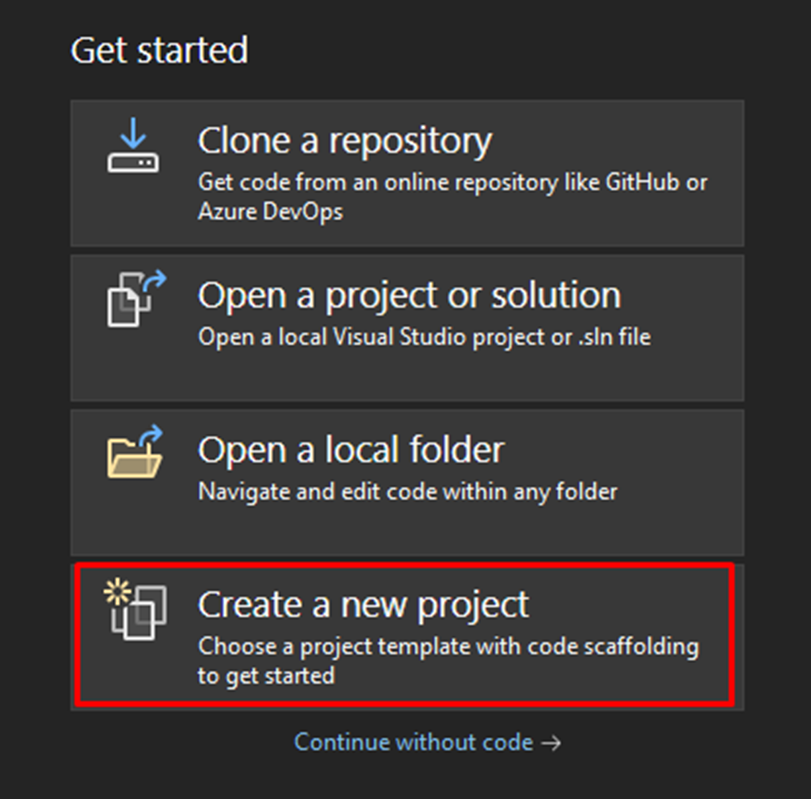
- Open Visual Studio 2022 and click on Create a new project
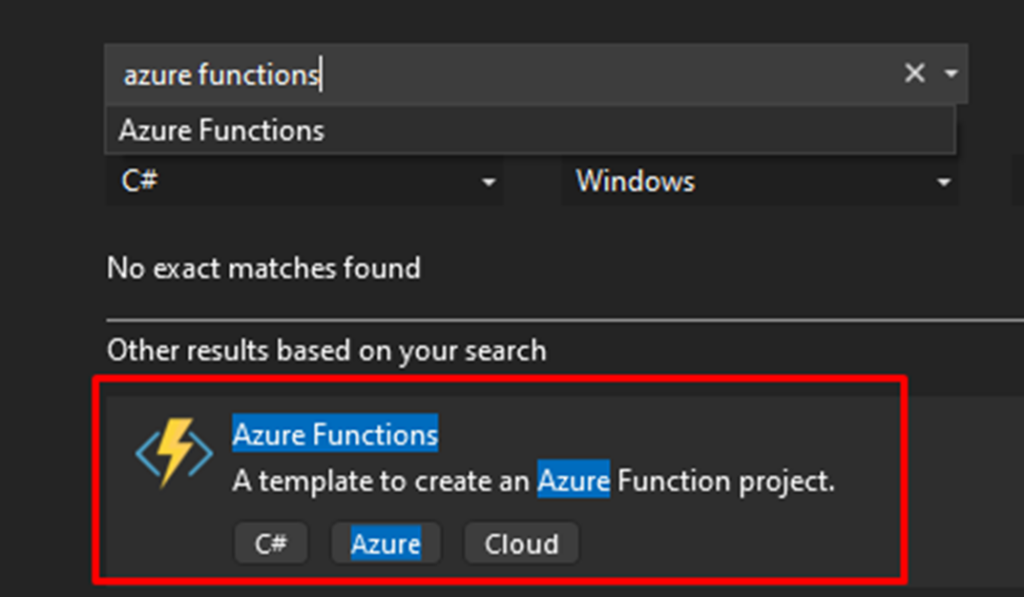
- Next, search for Azure Functions and double-click over it.
- Choose a Project name and a location for this Azure Function.
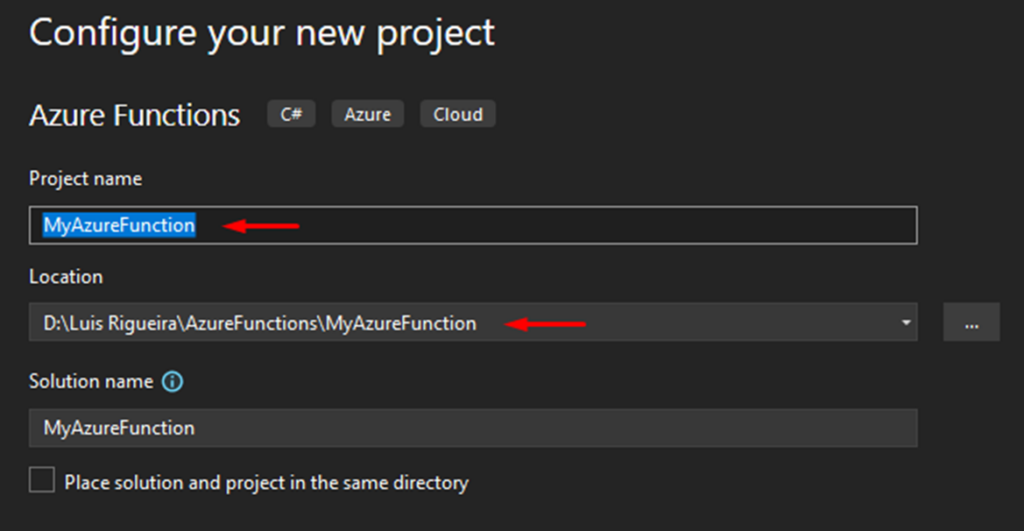
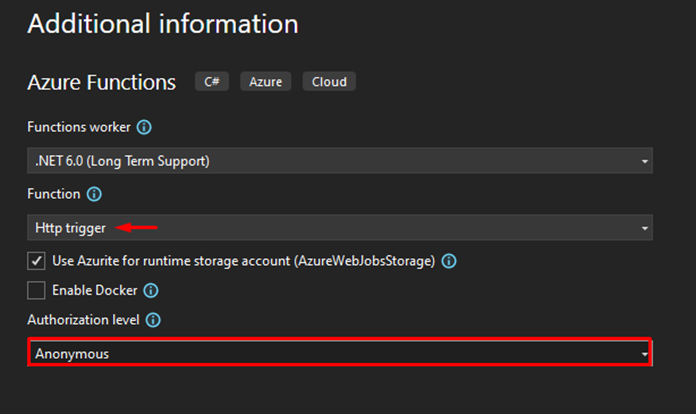
- The trigger should be an HTTP trigger, and for the Authorization level, you can choose it as Anonymous or Function.
- Next, replace the generated code with the one we present here:
THIS COMPONENT IS PROVIDED “AS IS” WITHOUT WARRANTY OF ANY KIND.
In a simple way, this is what the Azure Function does:
The Azure Function is designed to merge multiple files (PDF, JPG, or PNG) into a single PDF document. Basically, this function will:
- Listens for HTTP POST requests.
- It reads the incoming request body, which should contain a JSON array of file names to merge.
- If the request body is empty, it lists all files in a specified container.
- It deserializes the JSON data to get the file names if the request body is not empty.
- For each file name, it fetches the file content from Azure Blob Storage.
- If the file is a PDF, it imports each page into a new PDF document.
- If the file is an image (JPG, JPEG, or PNG), it resizes and positions it on a PDF page.
- It merges all PDF pages and images into a single PDF document.
- It generates a unique file name for the merged PDF.
- It saves the merged PDF to an Azure Blob Storage.
- It constructs an HTTP response containing the merged PDF file.
- It sets appropriate headers for file download (content disposition and content type).
- It returns the merged PDF file as a response.
This Azure Function provides a simple API for merging files stored in Azure Blob Storage into a single PDF document.
So, in practical terms, this is an example of a JSON input request we can make to the Azure Function:
{
    "FileNames": [
        "Blood Pressure Tracker.pdf",
        "Calendar.pdf",
        "Form.pdf",
        "photo.jpg",
        "chart.png"
    ]
}
The files will be merged in the sequence listed in the request. If the request body is empty, the Azure Function will merge all files stored in the container.
Of course, as you can see and if you are testing the Azure Function locally, notice that we have the ConnectionString, GeneratedPdfsContainerName, and BlobContainerName
CloudStorageAccount storageAccount = CloudStorageAccount.Parse(_config["ConnectionString"]);
        CloudBlobClient blobClient = storageAccount.CreateCloudBlobClient();
        CloudBlobContainer container = blobClient.GetContainerReference(_config["GeneratedPdfsContainerName"]);
        // Create the container if it doesn't exist
        await container.CreateIfNotExistsAsync();
        // Upload the merged PDF to the container
        CloudBlockBlob blob = container.GetBlockBlobReference(fileName);
        using (MemoryStream stream = new MemoryStream(pdfBytes))
        {
            await blob.UploadFromStreamAsync(stream);
        }
    }
    private static async Task<byte[]> GetBlobContentAsync(string fileName)
    {
        // Get reference to storage account and container
        CloudStorageAccount storageAccount = CloudStorageAccount.Parse(_config["ConnectionString"]);
        CloudBlobClient blobClient = storageAccount.CreateCloudBlobClient();
        CloudBlobContainer container = blobClient.GetContainerReference(_config["BlobContainerName"]);
All these data should be added to local.settings.json file in your Solution Explorer in Visual Studio, meaning you must provide this data so the Azure Function can communicate properly. Do not forget that after deployment, these configurations need to be set manually in the function app, but to know more about this, check our Friday Fact content related to this topic here: https://blog.sandro-pereira.com/2024/01/19/friday-fact-settings-present-on-local-settings-json-file-inside-azure-functions-project-are-not-deployed-with-visual-studio/

If you’re looking to find the connection string for your Azure Storage Account, it’s quite straightforward. Here’s how you can do it:
- Navigate to the Azure portal and go to the overview page of your Storage Account.
- Depending on the portal updates, click on the Access keys in the menu on the left side or under the Security + networking section.
- You’ll see two access keys and their respective connection strings. Locate the section for the first access key and click on Show keys or directly on the Show button next to the connection string if available.
- Once the connection string is visible, click on the Copy to clipboard button to copy your Connection String.
And that’s all there is to it! You now have the connection string needed to access your Azure Storage Account programmatically or from any application that requires it.

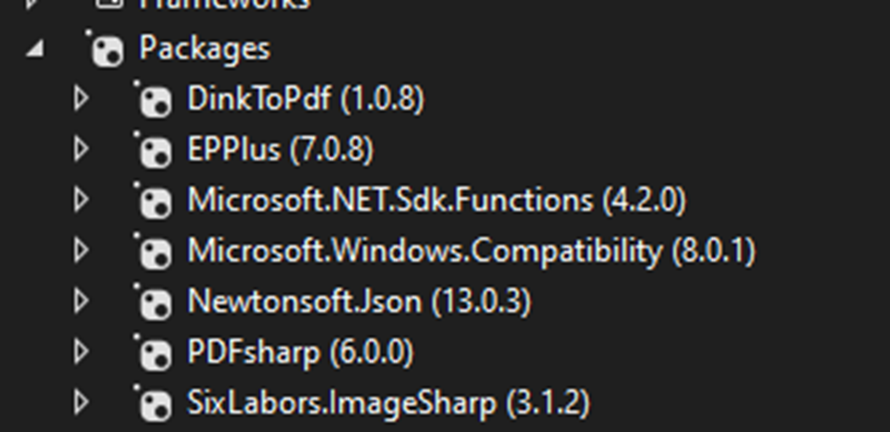
Another thing that is relevant is the nugget packages that should be installed for this Azure function to work. Here you have them:
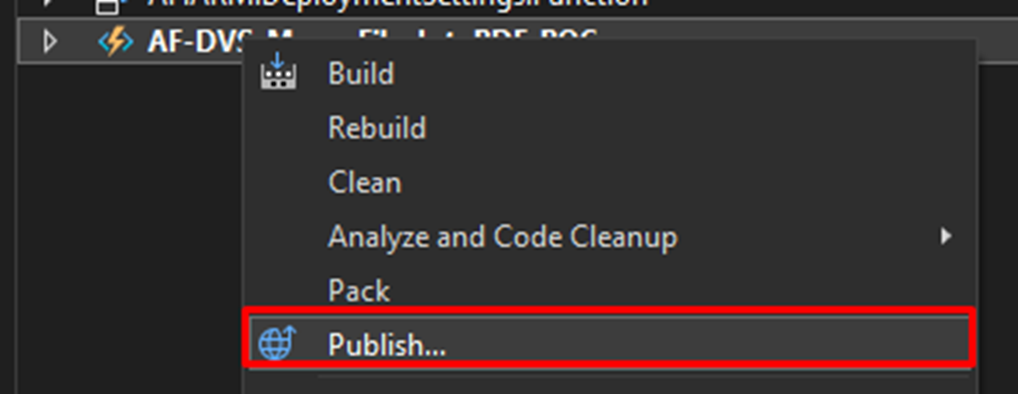
Once this is all set, it’s time to publish your Azure Function. On the Solution Explorer, right-click over your Azure Function App and click on Publish. You will then be prompted to use some criteria and credentials of your own.
Creating the Logic App
So, after the deployment and the Function App is configured properly, it is time to create a Logic App. In this case, we created a Logic App Consumption named:
- LA-MergeFilesIntoPdf-POC
And this is our flow:

We designed our Azure Function to retrieve the filename in the response headers. This way, the content is intact, and we can pass the name through.
Follow these steps to fully test your Azure Function, which merges files into a single PDF and integrates with a Logic App for further processing (like sending an email). This example assumes you’ve already set up your Azure Function and Logic App and have Postman installed for sending HTTP requests.
- Step 1: Prepare Your Azure Storage
- Navigate to your Azure Storage Account through the Azure portal.
- Next, access your container where the files to be merged are to be uploaded.
- Then, you need to upload the files: Click on Upload to select and upload the files (e.g., images or PDFs) you wish to merge. You can select multiple files for this purpose.
- Step 2: Trigger Your Azure Function via Postman
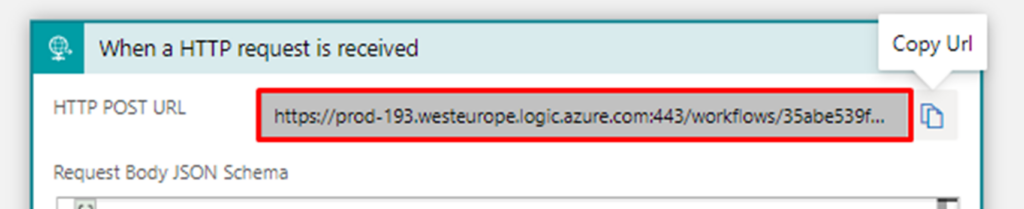
- Copy the URL of your Logic App trigger: Navigate to your Logic App, find the HTTP trigger, and copy the URL provided.
- Open Postman and set up a new request:
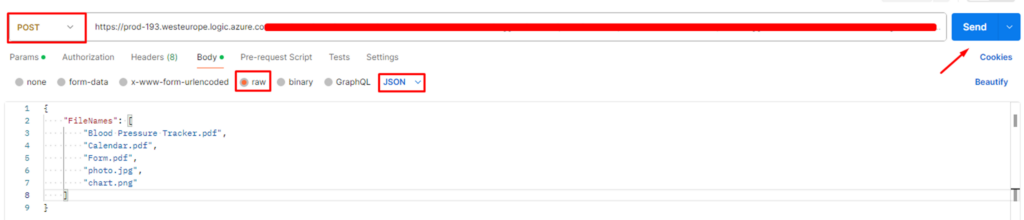
- Set the method to POST.
- Paste the copied URL into the request URL field.
- Set the body type to raw and format to JSON (application/json).
- In the body, list the file names you want to merge. It should be in JSON format.
- Click on Send.
- Step 3: Verify the Output
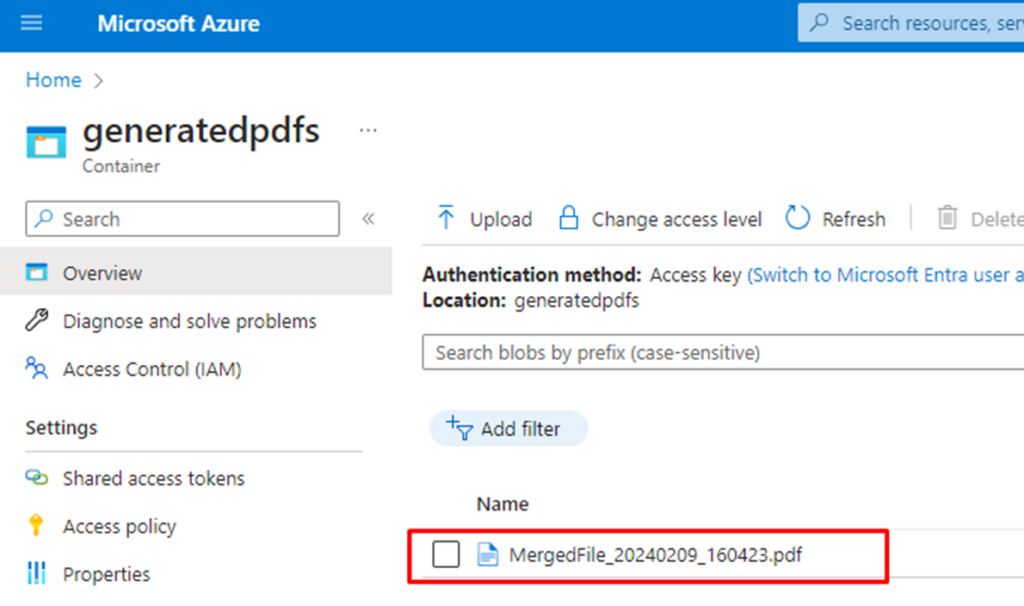
- Check your generatedpdfs container in the Azure Storage Account for the merged PDF file. If the function works as intended, you’ll find the merged PDF there.
- Email Notification: If your Logic App is set up to send an email upon completion, check your email for a new message containing the merged PDF as an attachment. This verifies that the entire workflow, from file merging to email notification, is functioning correctly.
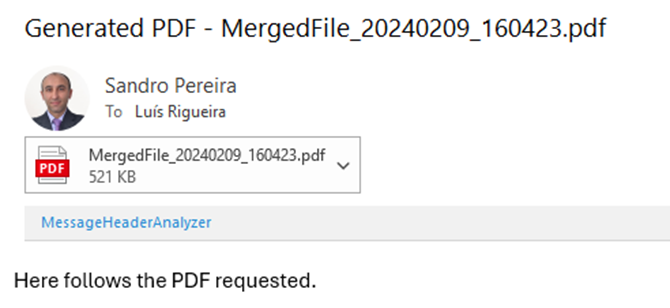
And as you can see, here is the PDF with all the merged files:
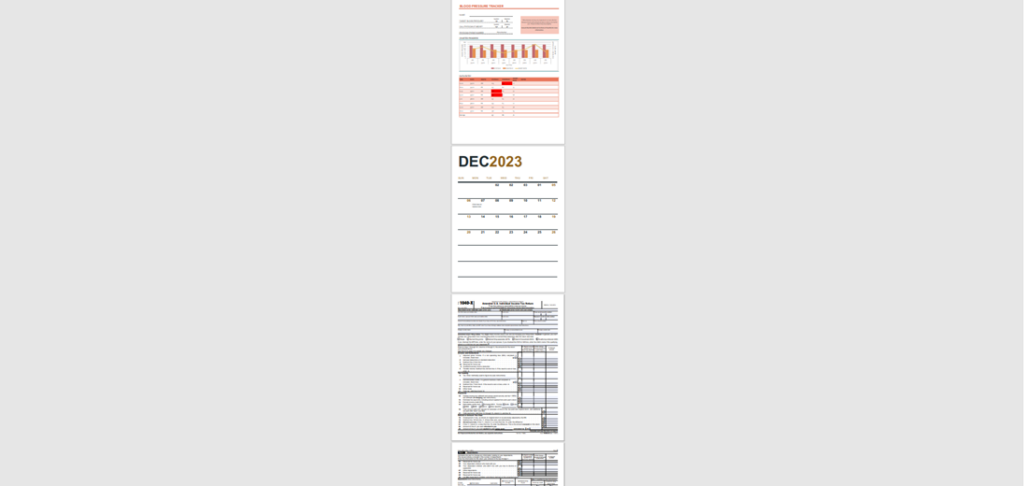

And with a beautiful photo of myself on it!
I hope you have enjoyed this POC, and we will see you at the next one. If you enjoyed the content or found it useful and wish to support our efforts to create more, you can contribute towards purchasing a Star Wars Lego for Sandro’s son!

