One of the most ancient and common standards for message representation is using text files (Flat Files), such as CSV (Comma Separated Values) or TXT, many of which are custom-made for their systems. And do not be fooled into thinking these messages are outdated and rarely used. Even today, many existing and new integrations are built on Flat Files.
No matter if you are working with Logic Apps Consumption or Logic Apps Standard, there are only two ways to generate a Flat File Schema:
- Using a BizTalk Server Visual Studio Project (Visual Studio 2019 or earlier, depending on the BizTalk Server version you are using), this is a good option if you have a BizTalk Server environment and are migrating BizTalk Server solutions.
- Or using the Azure Logic Apps Enterprise Integration Tools. This is an add-in for the Integration Account project to support XML Schema creation, the XML Transform Designer, and Flat File Schema generation in Visual Studio 2019.
In this blog post, we will address how to create a flat-file schema using the Azure Logic Apps Enterprise Integration Tools (in this case, a CSV file) and how to process it using the Logic Apps Consumption. The biggest difference between using Logic App Consumption or Standard is that to process a flat file using Consumption, it is required to have an Integration Account, which is not needed in Standard.
📝 One-Minute Brief
Learn how to process CSV files in Azure Logic Apps using Flat File Schemas. This guide explains how to generate a CSV schema with Enterprise Integration Tools and use it in Logic Apps Consumption and Standard, highlighting key differences and requirements.
How to create a Flat File Schema for a CSV file
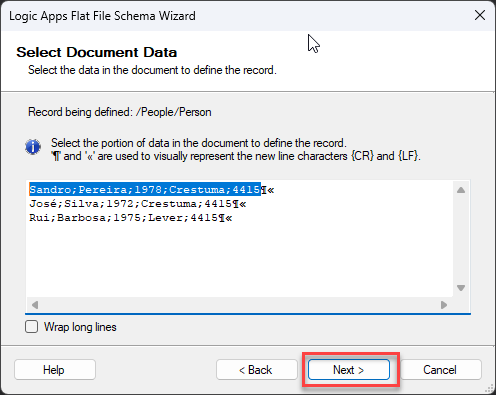
Normally, CSV files contain structured data, with commas or semicolons separating individual items and each record on a new line. In the image below, the CSV file contains five columns:
- First name
- Last name
- Birth year
- City
- And Zip Code
And on each row, there is a person’s data.
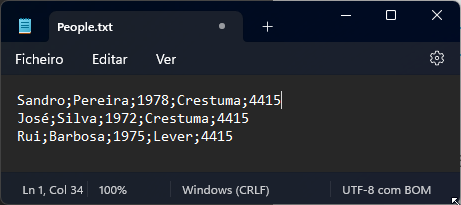
We are going to use this sample for our proof of concept.
To create a flat file schema for this CSV file, we need to:
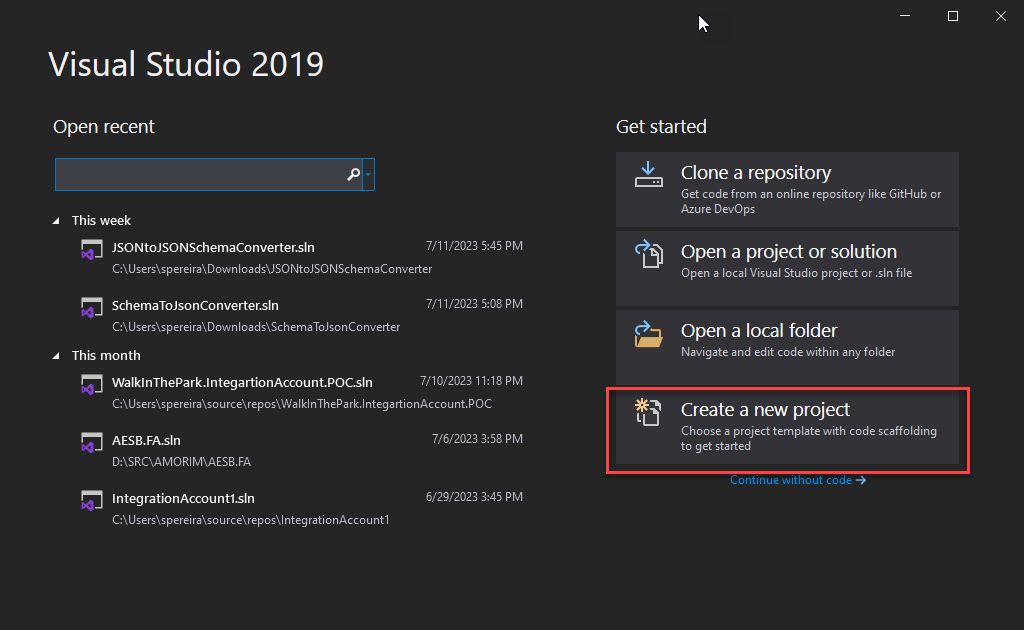
- Open Visual Studio 2019 and create a new project by selecting Create a new project option.
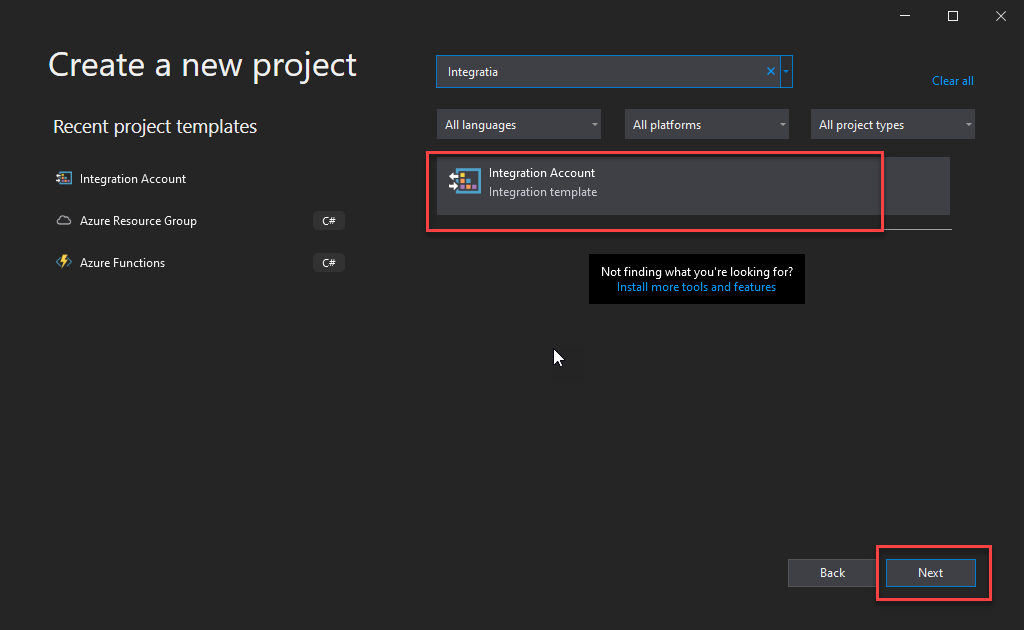
- In the Create a new project window, search for the Integration Account template, select the Integration Account template, and click Next.
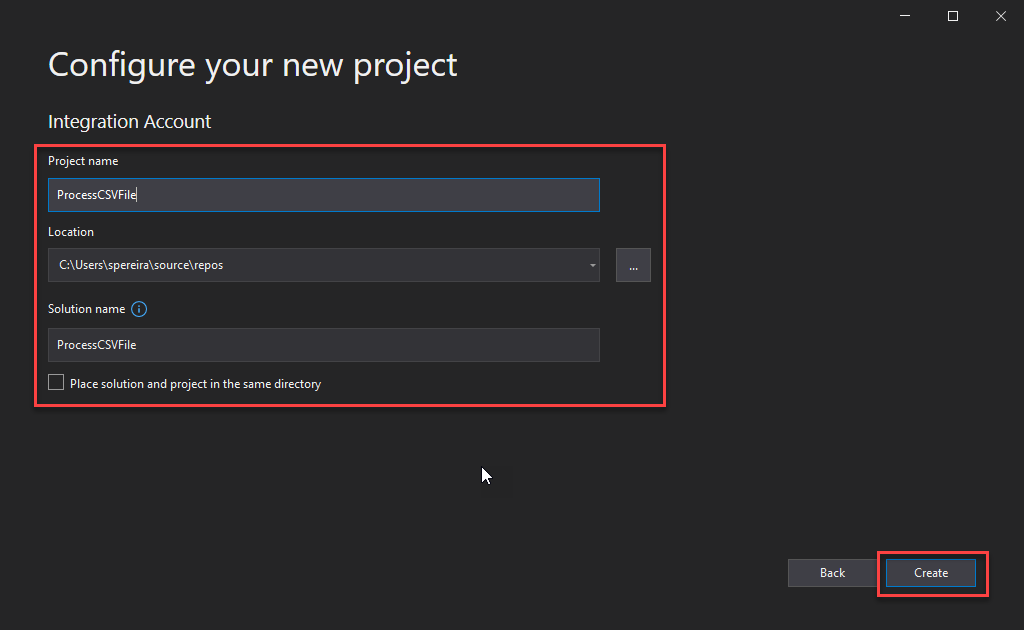
- In the Configure your new project window, give a Project name and a Solution name, and set the Location. Then click Create.
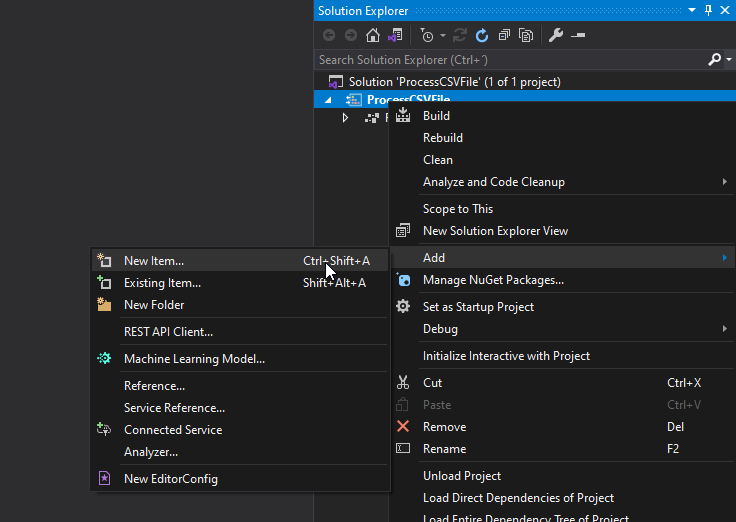
- Once the Visual Studio project is created, right-click the project name and select the option Add > New Item…
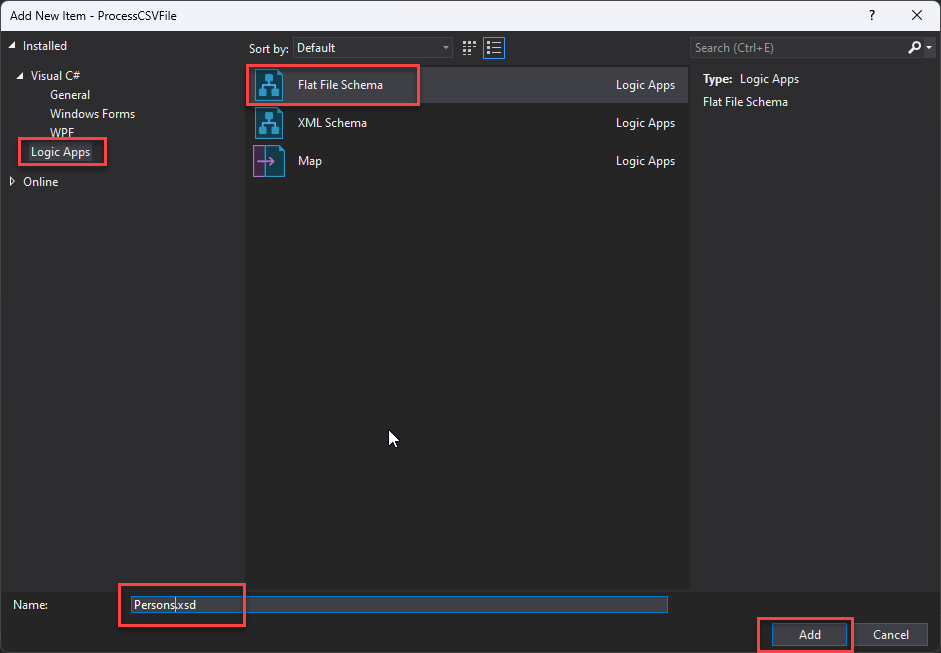
- On the Add New Item window, on the left tree, select Logic Apps and then select the Flat File Schema, give it a name, and click Add.
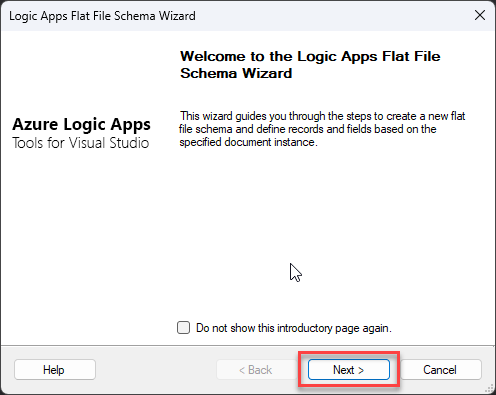
- This will start the Logic Apps Flat File Schema Wizard. On the Welcome screen, click Next >.
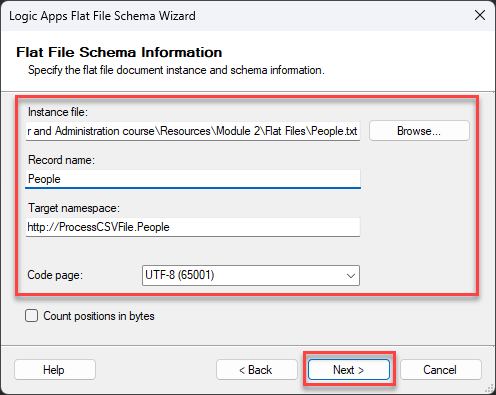
- On the Flat File Schema Information screen, set the following configurations and then click Next >:
- On the Instance file property, click the Browse button to locate the flat file from which the schema will be generated.
- On the Record name property, give a name to define the root node name of your XML message—for example, People.
- On the Target namespace property, set your desired namespace or leave the default.
- On the Code page property, select UTF-8 (65001) from the drop-down selection list.
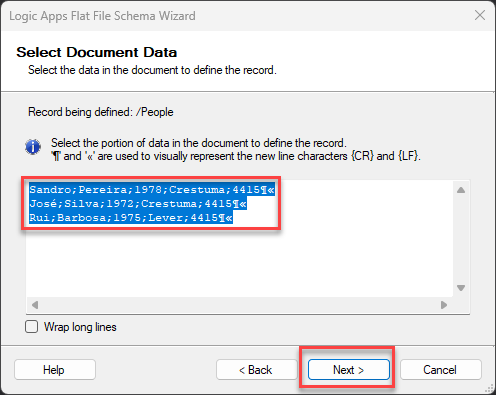
- Because this is a small message on the Select Document Data screen, leave the default selected data and click Next >.
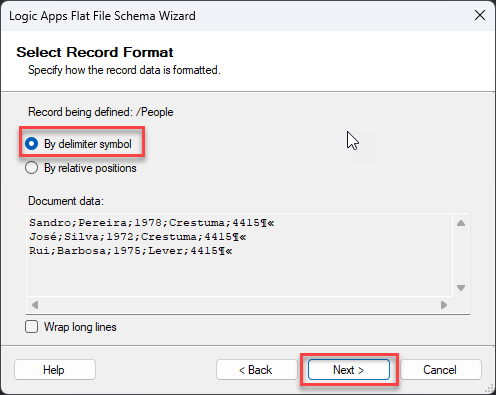
- We will separate or define what separates a person on this first Select Record Format screen. And in this case, it is the new line. So, select the option By delimiter symbol and click Next >.
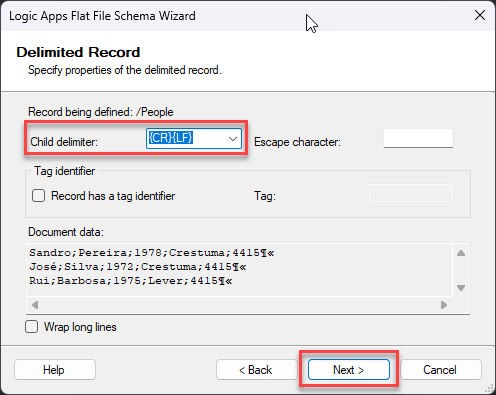
- On the Delimiter Record screen, the child delimiter property is already defined to be the new line ({CR}{LF}), so leave the default configuration and click Next >.
- On the Child Elements screen, on the first line, set the following configuration:
- Element Name: Person
- Element Type: Repeating record
- And on the rest of the lines, set the Element Type to Ignore since all lines represent the Person we will define on the first line. And then click Next >.

- On the Schema View screen, you notice our Schema representation is being created. Click Next >.
- Now, back to the Select Document Data screen, you notice that only the first line is automatically selected, excluding the new line character, and this is what we want. We will be defining the structure of the person object. Click Next >.
- A semicolon separates this document, so in the Select Record Format screen, select the option By delimiter symbol and click Next >.
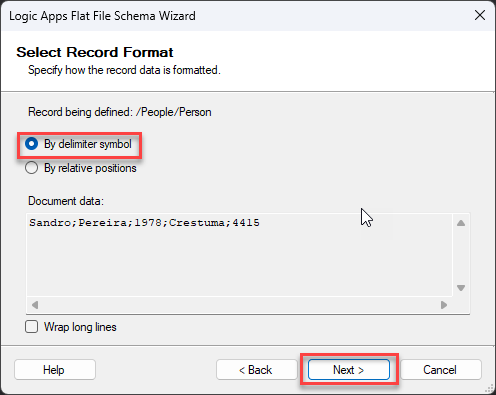
- On the Delimiter Record screen, change the child delimiter property to a semicolon (;), and click Next >.

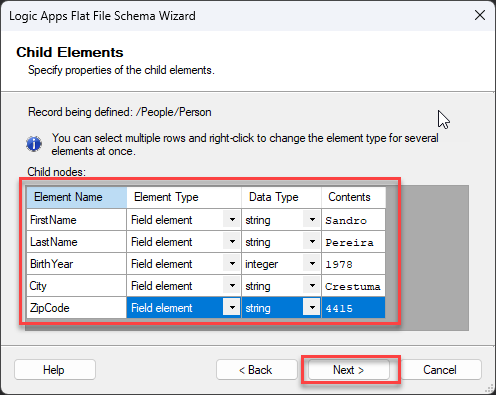
- Now you notice that all fields are separated on the Child Elements screen. Enter the following configuration, then click Next >.
- FirstName (string)
- LastName (string)
- BirthYear (integer)
- City (string)
- ZipCode (string)
- On the Schema View screen, you notice our Schema representation is finished. Click Finish.

- And the Schema will open inside Visual Studio.
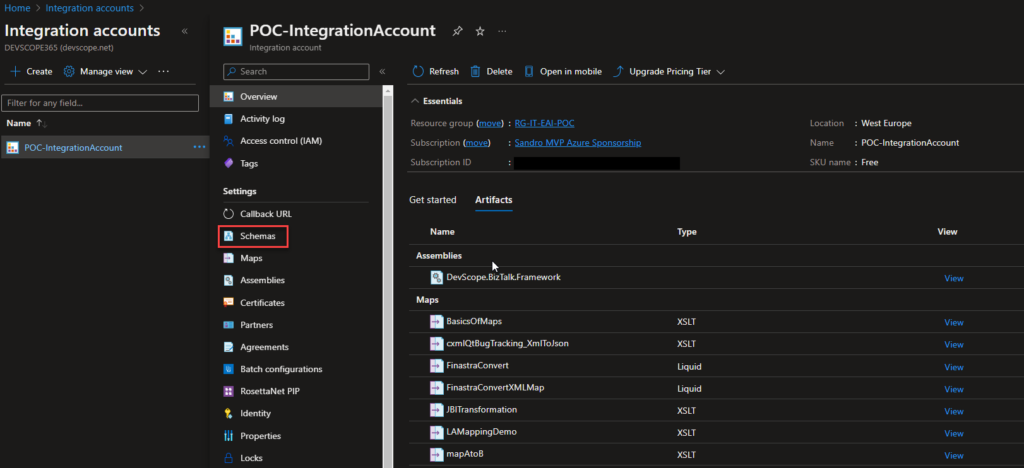
Now that we have our schema created, we need to upload it to our Integration Account. If you don’t have one, you need to create an Integration Account in the Azure Portal. To do that:
- In the Azure Portal, access your Integration Account and select the Schemas option under Settings.
- On the Schemas page, click on + Add and on the Add Schema panel on the Schema property, browse for the schema we just created and click Ok.
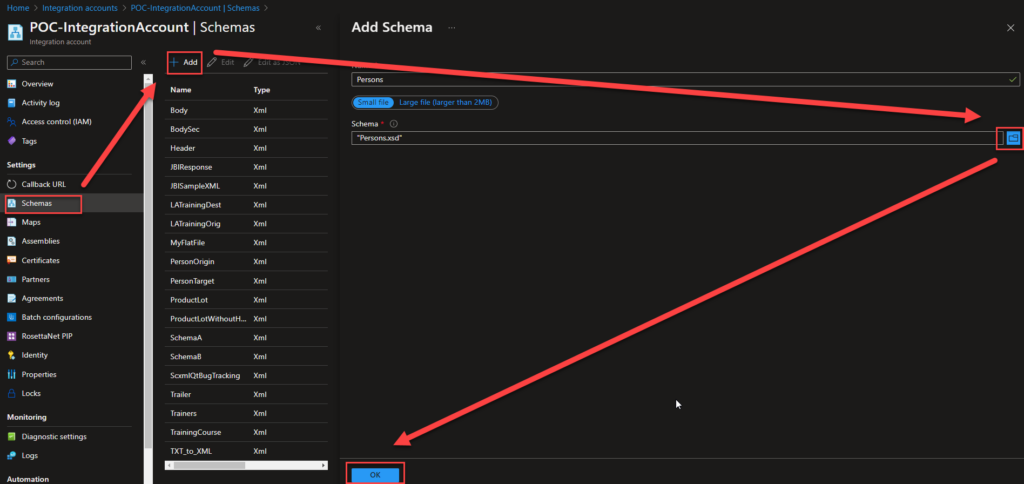
- This will add the schema to your Integration Account, which you can use in your Logic Apps.
Now we need to create a Logic App to process this CSV. To do that, we need to:
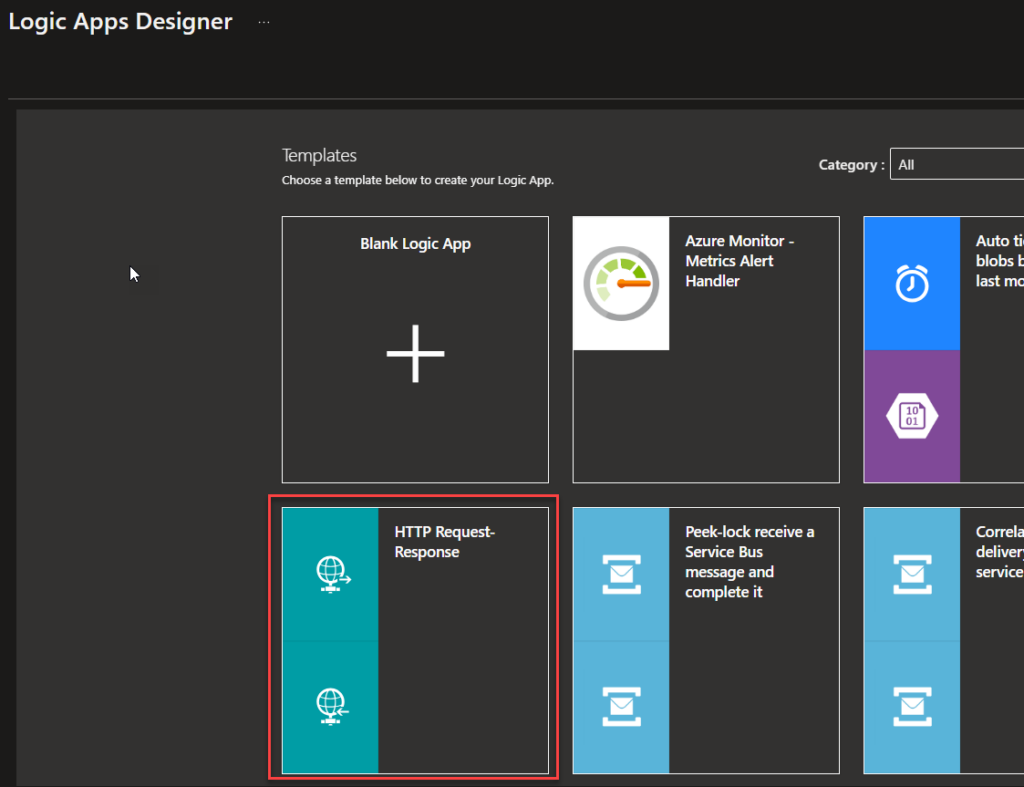
- Create a Logic App and use the HTTP Request-Response template – of course, this can be adapted to your requirements.
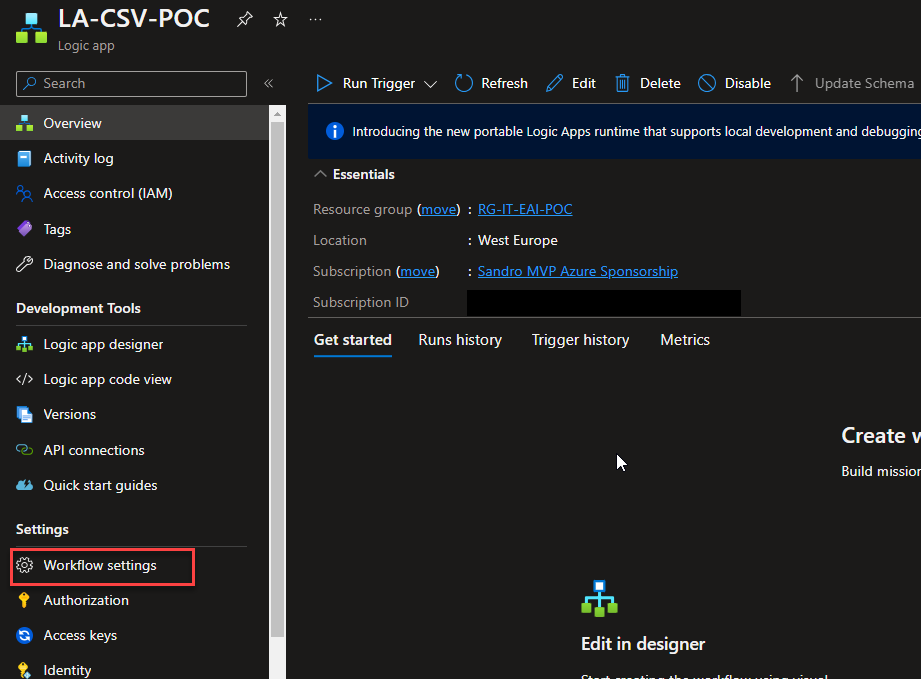
- Once the Logic App design is loaded, click Save and return to your Logic App page. From there, click Workflow settings under Settings.
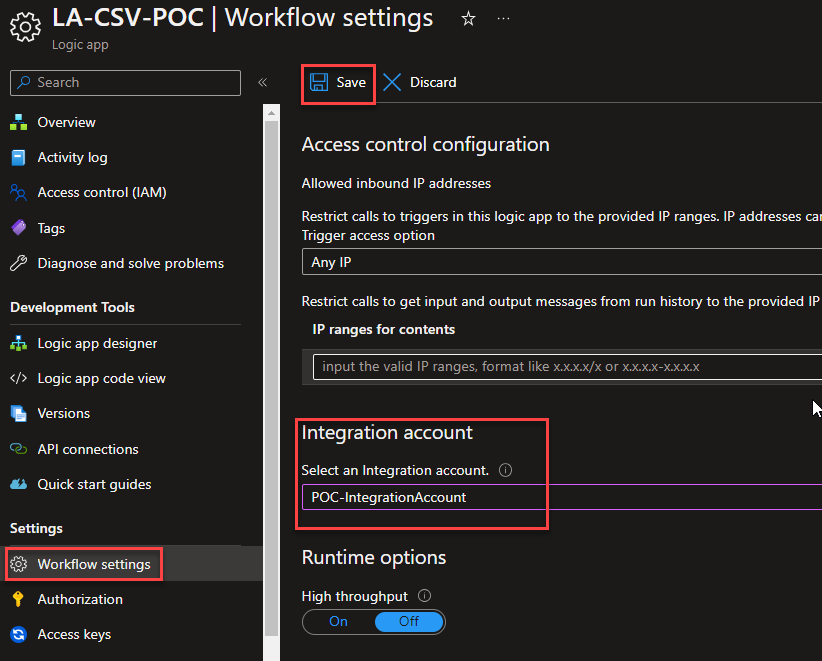
- On the Workflow settings page, under the Integration account section, select the integration account in which we add our previous flat file schema on the Select an Integration account property. And click Save.
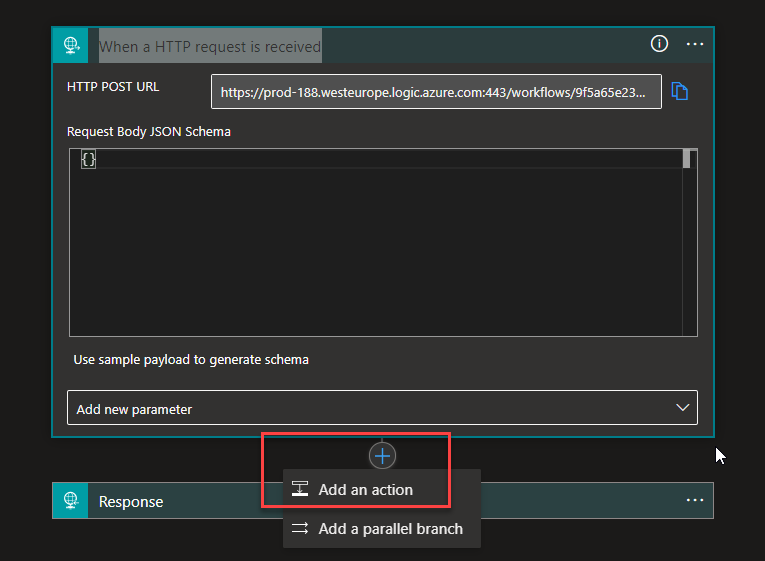
- Now, back to our Logic App designer. After the When a HTTP request is received trigger, select Add an Action.
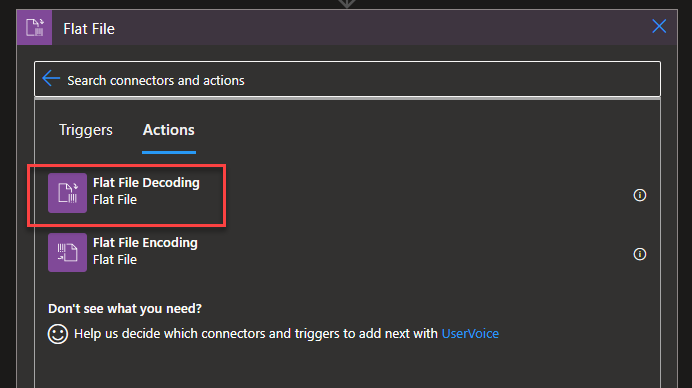
- On the Choose an operation panel, search for Flat File and then choose the Flat File > Flat File Decoding action.
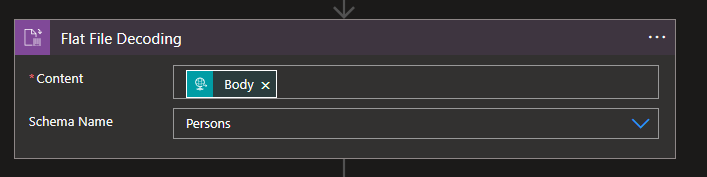
- On the Flat File Decoding action, set the following configurations:
- Content: Body from the When a HTTP request is received trigger.
- Schema Name: Persons – the flat file we created earlier.
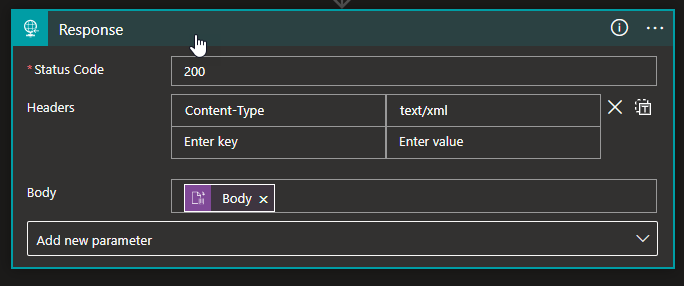
- Now, select the Response action and set the following configurations:
- Status Code: 200
- Headers: Content-Type: text/xml
- Body: Body from the Flat File Decoding action.
- And finally, save the Logic App.
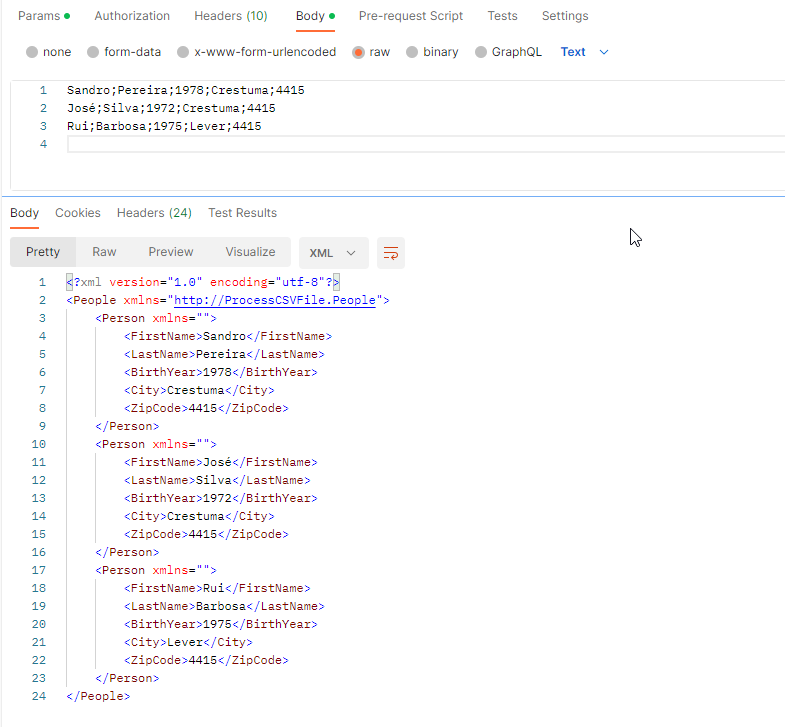
Now, if we open Postman and send the following request, the expected response will be the same payload translated to XML, as you see in the picture below:
Hope you find this useful! So, if you liked the content or found it useful and want to help me write more content, you can buy (or help buy) my son a Star Wars Lego!


Hi Sandro, Thanks for putting this together. What is an option for Visual studio 2022?
Please could you advise.
Visual studio 2022 is not supported