Azure Files is a versatile solution that extends its utility to businesses and organizations. In this context, it becomes a pivotal tool for storing critical documents such as files, contracts, and reports, enabling seamless accessibility for employees regardless of their location.
Conceptually, Azure Files mirrors the functionality of a centralized file cabinet within an organization. Much like the varied compartments of a physical filing system, users can create distinct folders within Azure Files to maintain meticulous organization.
After this brief explanation, it serves to say that it is possible to mount a drive in a more automated way but to understand the process of how things work manually, let’s explore this approach.
Also, we trust you have a virtual machine to try this POC.
First, create a Storage Account, to do that:
- On Azure Portal, search for the storage account and click on it.
- Next, choose your subscription and resource group and give a meaningful name to your storage account. As you already know, starting to use proper names from day one never gets old!
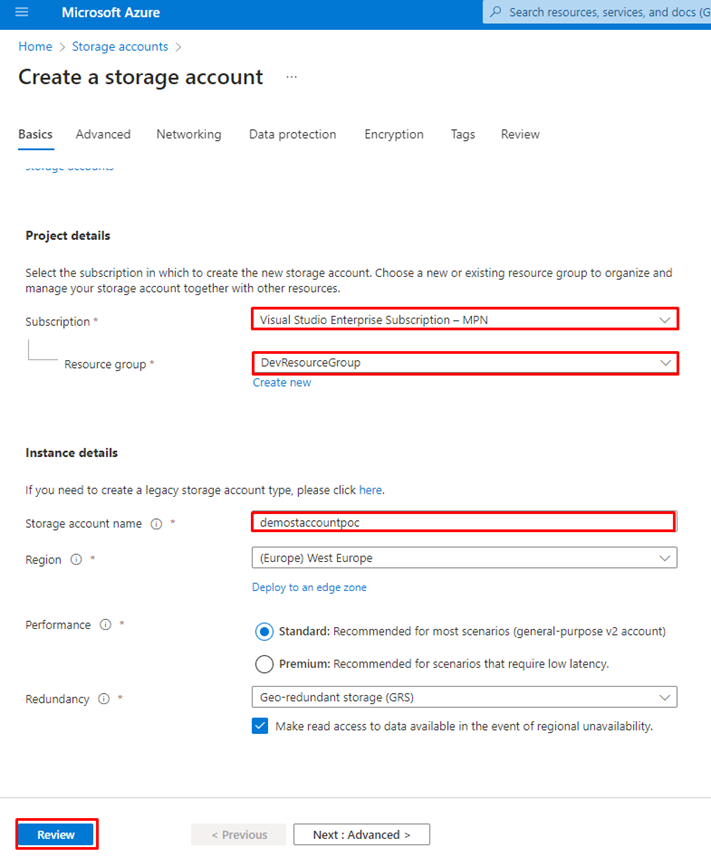
- Next, click on Review and then click on Create.
- From this moment, you have access to your storage account.
The next step you need to do is to create a File Share inside your Storage Account resource. To do this you need to:
- Go to the File shares option under the Data storage section on the lateral menu.
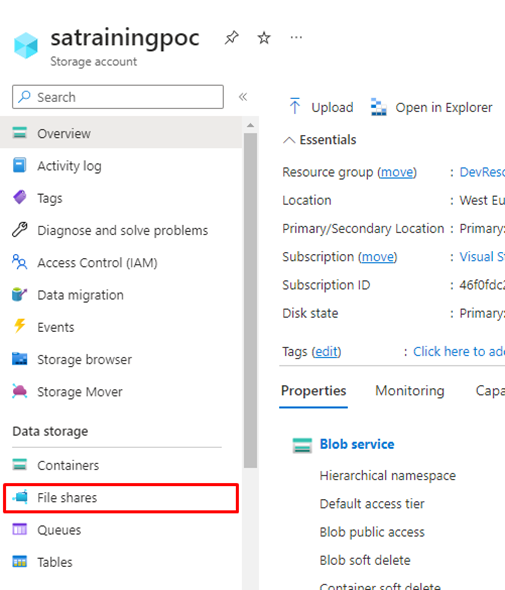
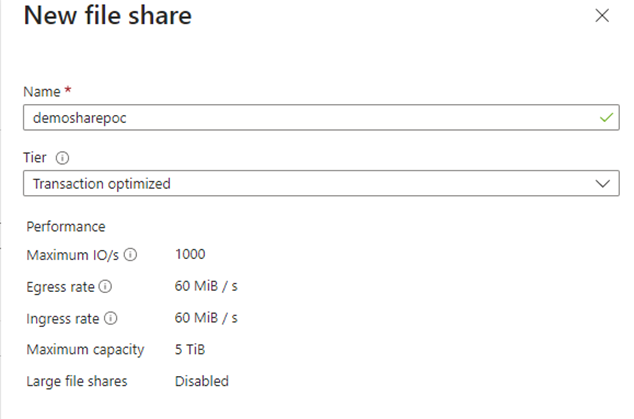
- Next, click on + File share, as shown in the image below, and add a name to your File Share.

If automatic mounting of the drive isn’t desired, and there’s a need to prevent executing code directly on the client’s virtual machine, opting for a manual mount of the drive on Windows is a viable approach.
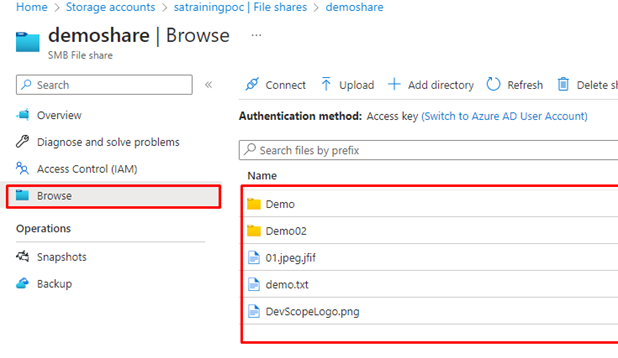
To do so, we need to grab the URL of our file share. To do that, you need to:
- Go to the overview in your File Share and copy the Share URL. (you should copy it without the https://)
- satrainingpoc.file.core.windows.net/demoshare

- Now change this URL to this URL:
- \\satrainingpoc.file.core.windows.net\demoshare
- Next, on the Virtual Machine, right-click over This PC and click on Map network drive.
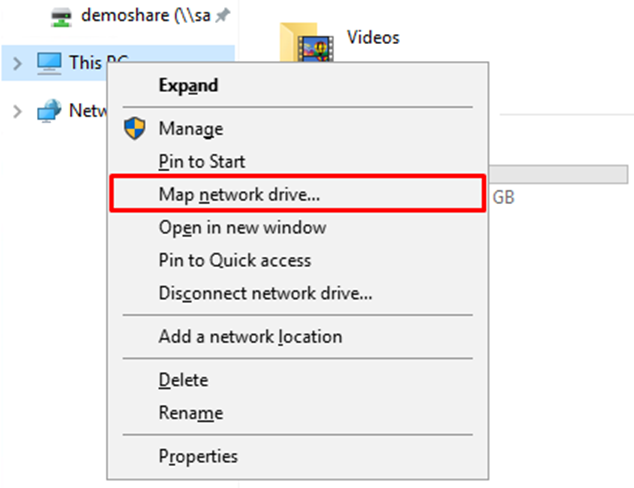
- You can choose the Letter you want, as you did before, and on the Folder, type the URL we changed before:
- \\satrainingpoc.file.core.windows.net\demoshare
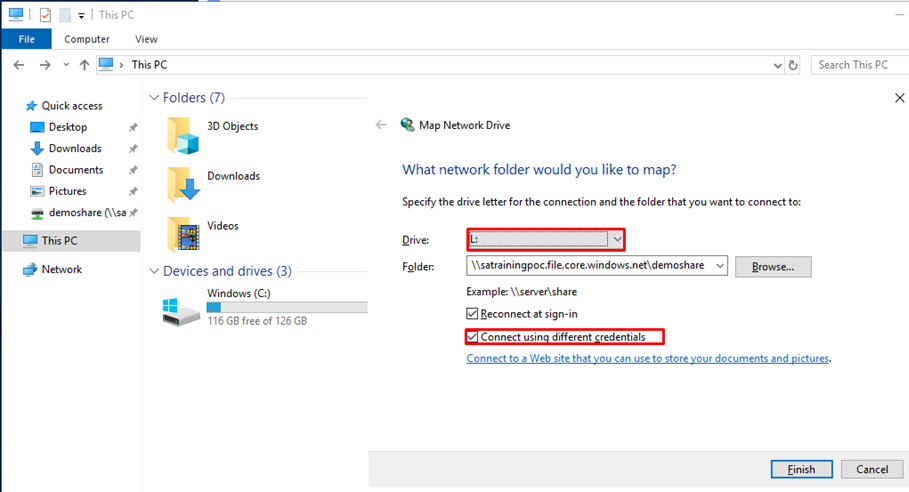
- Next, click on the checkbox: Connect using different credentials, and click on Finish.
- After this, a credentials window will pop up. When it does, click on More choices, and click on Use a different account.
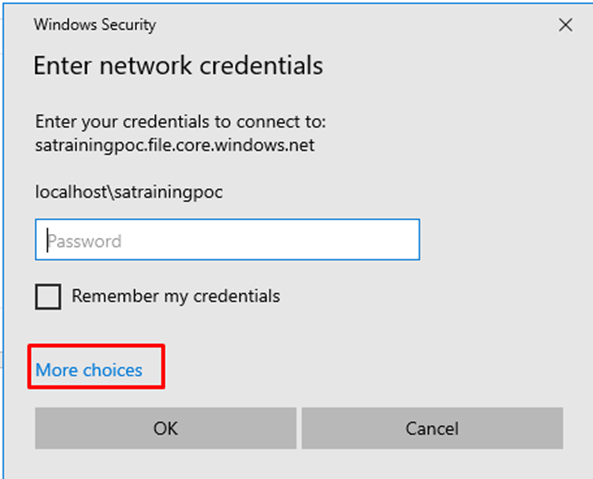
- After doing this, you will need to provide a user and a password
- For the user, you should write Azure\ followed by the name of the service, in this case, the storage account, so to do that:
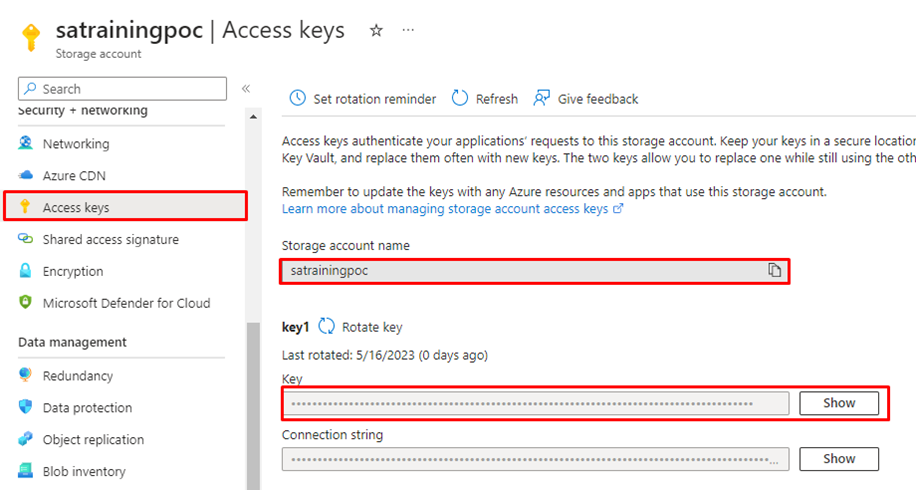
- Open the storage account where the File Share is.
- And click on Access Keys, copy the storage account name, and so the user should be:
- Azure\satrainingpoc
- For the user, you should write Azure\ followed by the name of the service, in this case, the storage account, so to do that:
- As for the password, copy the Key1, click on Show, and then copying it to the password field, and click OK

- After this, as you can see, the Drive is mounted on the virtual machine.

But what does this mean? Well, it means that now you have a File Share connection between your storage account and the virtual machine, so everything you create on one side or the other will be available on that side or the other, as we demonstrate in the images below.

I hope you have enjoyed this POC, and we will see you at the next one. If you enjoyed the content or found it useful and wish to support our efforts to create more, you can contribute towards purchasing a Star Wars Lego for Sandro’s son!