
Well, first, we need to understand what Terraform is and what it is used for.
Terraform is an open-source tool designed to automate and manage infrastructure as code (IaC). Created by HashiCorp, it allows developers and DevOps teams to define, provision, and manage cloud and on-premises resources in a declarative, code-based format.
This includes servers, storage, networking, databases, and more, across multiple providers like AWS, Azure, Google Cloud, and even on-premises systems.
📝 One-Minute Brief
Managing Azure resources consistently across environments requires a reliable Infrastructure as Code approach. In this post, I show how to deploy Azure Storage Account containers using Terraform, explaining the required resources, configuration structure, and deployment flow. This approach helps you automate container creation, reduce manual errors, and ensure repeatable, predictable Azure deployments.
How Terraform Works
Terraform operates in three main steps:
Write: Define your infrastructure in .tf files using HCL.
Plan: Terraform generates an execution plan that shows you the changes it will make to reach the desired state.
Apply: Terraform applies the changes, creating or modifying resources as needed.
Terraform is a robust, flexible tool that helps you define, manage, and automate infrastructure—empowering teams to handle complex setups with ease and precision.
But let’s get back to how we can use it to create blob containers in a storage account!
How to create blob containers in a storage account with Terraform
Well, this is a POC, and you should follow it to the extent of your needs, and scale from there if necessary.
Setting Up Terraform in Visual Studio Code
To start this POC, make sure you have Visual Studio Code installed on your PC and:
- You are logged in with your credentials.
- You have an Azure Subscription.
- You have a Storage Account (in your Azure Subscription).
- You’ll need the Terraform executable (AMD64 Windows), which you can download from here: https://developer.hashicorp.com/terraform/install


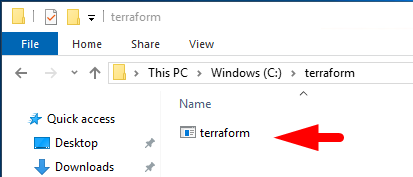
- Next, we need to create a folder on your disk C:\ named terraform
- C:\terraform

- Move the downloaded Terraform executable (.exe file) into this folder.
- Go to Control Panel and search for System, then navigate to Advanced System Settings > Environment Variables.
- Under System Variables, find and double-click on Path.
- Next, add a new environment variable with the path to your Terraform folder:
- C:\terraform

Click OK to save and close all windows.
Install Azure CLI
Now you need to also download and install Azure CLI from this link:

Install Visual Studio Code Terraform extensions
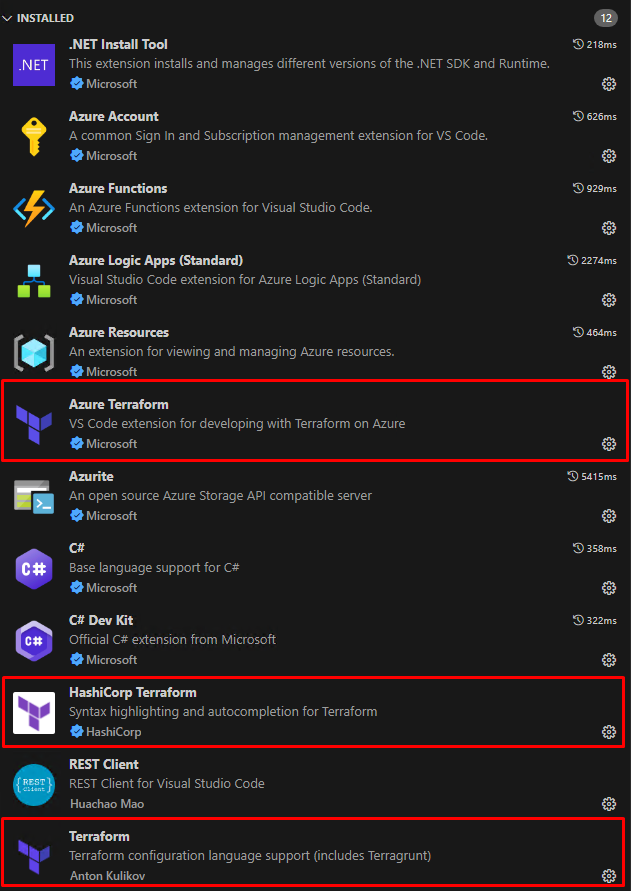
- Open Visual Studio Code and install the Terraform extensions. Consider installing any other recommended extensions for this project.
Create a new project
Next, it is time to create a new project and to do so, create a folder on your pc for this Terraform project, with the project folder inside, as follows:

- In Visual Studio Code, go to File > Open Folder… and select your project folder.

- This will open it in the VS Code workspace.
- In the Explorer panel in VS Code, create a new file named main.tf. This file will define your Terraform configuration.

We are not going to do CI/CD, but we can create the files to prepare the terrain for it anyway.
So for now just copy and paste the following code into main.tf file.
provider "azurerm" {
  features {}
  subscription_id = var.subscription_id
}

# Reference the existing Resource Group using a variable
data "azurerm_resource_group" "example" {
  name = var.resource_group_name
}

# Reference the existing Storage Account using a variable
data "azurerm_storage_account" "existing_account" {
  name                = var.storage_account_name
  resource_group_name = data.azurerm_resource_group.example.name
}

# Create a new container in the existing storage account
resource "azurerm_storage_container" "variable_container_name" {
  name                  = var.container_name  # Use variable for container name
  storage_account_name  = data.azurerm_storage_account.existing_account.name
  container_access_type = "private"  # Adjust access level if needed
}
- This code uses variables rather than hard-coded values to create a blob container in an existing storage account.
- And to continue with this we need to create a variables.tf file indicating which of these fields are the variables
- Create a new file named variables.tf in the project folder, and paste in the following code to declare your variables:
variable "subscription_id" {}
variable "resource_group_name" {}
variable "storage_account_name" {}
variable "container_name" {}
- Next, set the variable values. To do that, create another file named terraform.tfvars and add your actual values:
subscription_id = "xxxxx-xxxx-xxxx"                   # Your Azure subscription ID
resource_group_name = "RG-XX-XX-POC"       # The existing resource group name
storage_account_name = "statrainingpoc"       # The existing storage account name
container_name = "demo-terraform-poc"        # The name for the new container
- Now open your Terminal in VS Code.

- And in here the write cd followed by the path of your project folder:
- cd C:\Users\YourUserName\Desktop\Terraform-POC\my-terraform-project
- Press Enter to run the command.
- Run the following command to initialize the project:
- terraform init
- Press Enter to run the command.
- You can now use terraform plan to see what changes will be applied, or terraform apply to make them. When prompted, type “yes” to confirm the apply command.
- After completion, check your storage account to verify that the container demo-terraform-poc was created.

- If, for some reason, you cannot create the container, on PowerShell, run the command: az login and log in with your credentials.
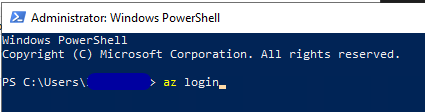
- Ensure the correct subscription is selected and retry the steps in VS Code.
Hope you find this helpful! If you enjoyed the content or found it useful and wish to support our efforts to create more, you can contribute towards purchasing a Star Wars Lego for Sandro’s son!