


Before we start with the actual post, I’d like to introduce a new brand we will be developing. This is the first official post with the “It’s not Rocket Science!” brand.

With this concept, we intend to explain how some procedures are not as complicated as you may think and that they’re not Rocket science. I’m open to suggestions on posts to demystify Azure Logic Apps and other Azure services.
So, welcome to a new concept, and I hope you find it useful.
📝 One-Minute Brief
Azure Functions created directly in the Azure Portal lack version control, proper debugging, and CI/CD support. This article explains why moving Azure Functions to Visual Studio improves reliability and shows how to migrate an existing function to a local development environment safely.
Azure Functions: Moving from Azure Portal to VS
Creating Functions in Portal presents some challenges, like a lack of Intellisense, which, as we know, helps a lot. Not having CI/CD is also a concern, and one of the worst-case scenarios:
Someone is deleting your function by mistake!

Panic! All hell broke loose. I tried to apply the same method as I did with the Logic Apps accidental delete recovery, but the “Change history” tab isn’t available for Functions. You end up losing your code, your executions, and maybe some sleep over this.
The obvious next step is to get your backup from your repository and re-create the function. IF you have it in a repo.
We can’t prevent someone from deleting our resources; everyone makes mistakes. But you can prevent letting your code sit in Azure Portal without version control, CI/CD, and repository control.
So, the best way to do this is to migrate it to a VS solution. In this post, I will use VS2019, but VSCode is also available as other IDEs. You can do this right from the start by choosing another development environment besides the Portal.
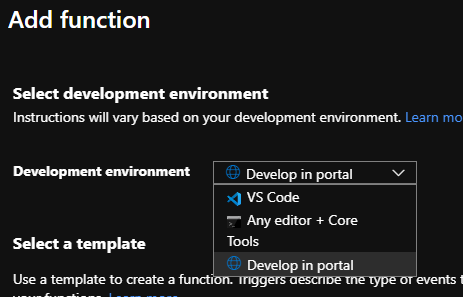
With an existing Function, you’ll need a few things before you can migrate it. Besides your VS with an active subscription, you will also need the Azure SDK feature. This can be installed using the Installer you’ve downloaded from MS or in VS itself, in the “Tools -> Get Tools and Features” menu.
After a fresh install of Windows, I didn’t installed the Azure SDK, so I had to download it and install. According to the setup, it should take about 6.5 GB.
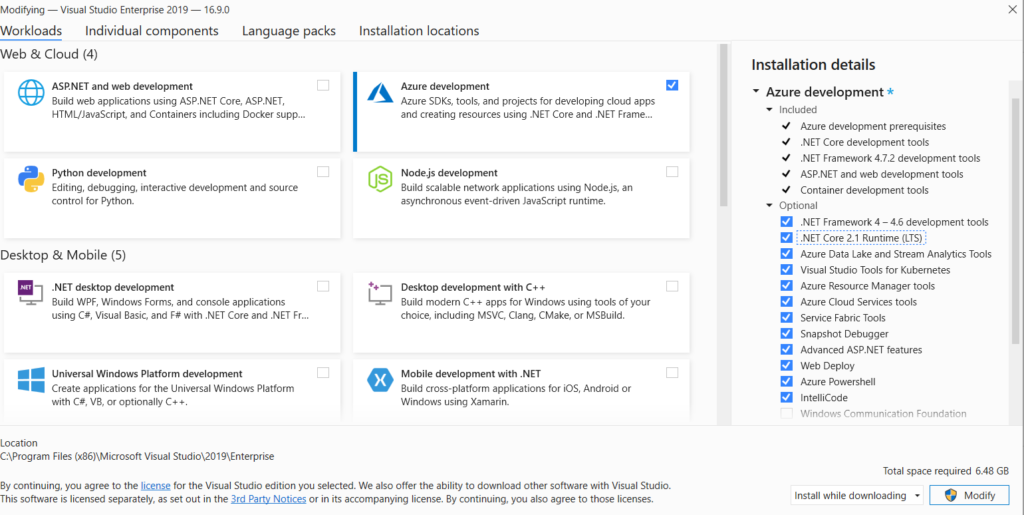
If you had to install the SDK, Updates are also important; keep that in mind.
Let’s return to the code.
The good thing about VS is that you don’t need to reference the required DLLs; they will probably already be there.
So you need to create a new Solution with an Azure Function project.
Small note: you can also create a project using VB instead of C#, but… VB…
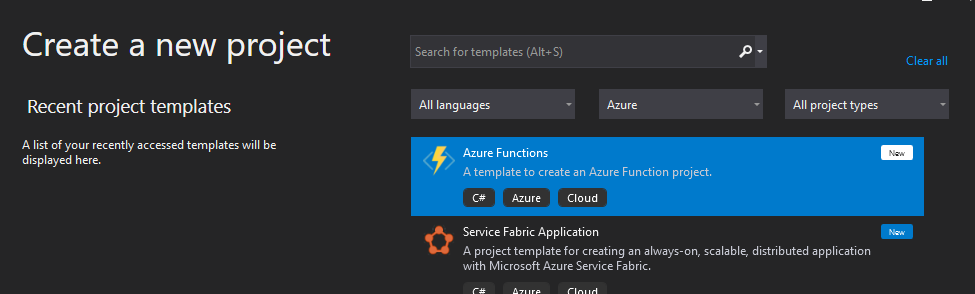
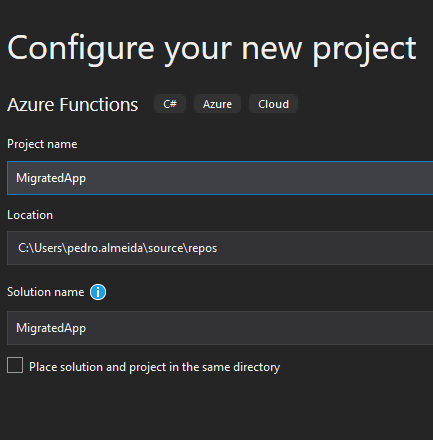
You can either choose a template with a trigger already created, or you can choose an empty project, but when you try to add a function, it will ask you again what template you want to use.
You can also add an empty class, but you will be missing some references.
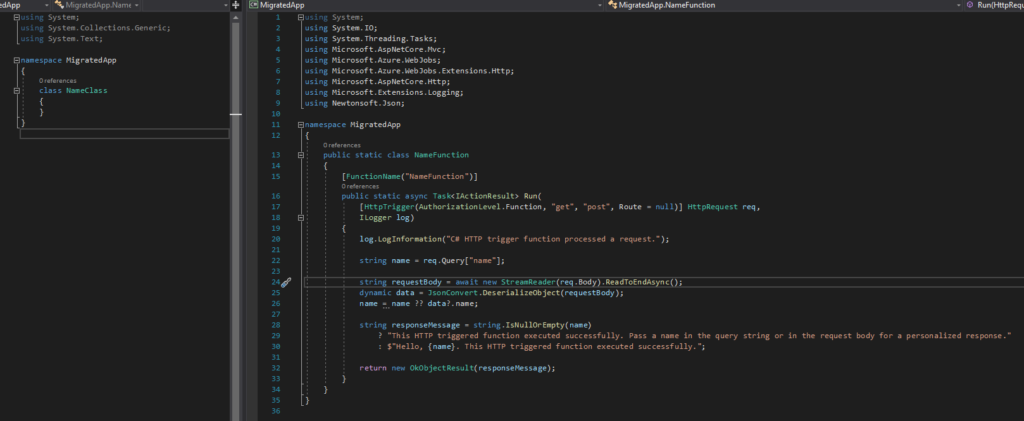
As you can see, there are quite a few differences between the Class and the Function template.
I recommend you use the same template as the one you used to build your function; you will get more references that will be necessary for your code to work.
And now comes the easiest part. You can just copy-paste your code into VS, but leave the usings out. Most likely, if you haven’t used anything outstanding, they will already be there.
Now you have your code in VS, ready to run. Is it working properly? Well, you can just debug it locally. When pressing F5, the Azure emulator will start, and you will be able to test your function as if it were on the cloud.
You can just use your Postman or another web request tool to test your project.
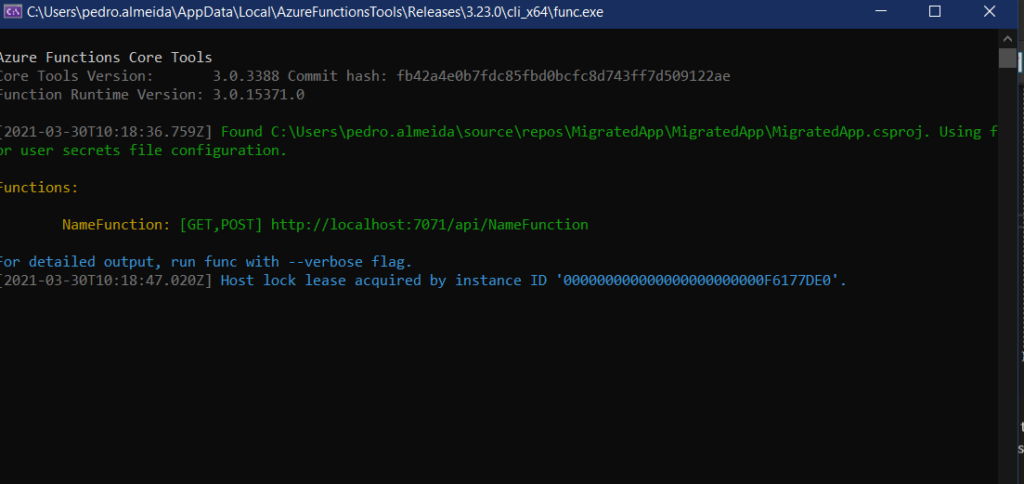
Once you’ve tested everything and are ready to deploy to your subscription, you’ll need to configure the publishing profile.
You have two major ways of doing this. You can choose the blue pill and configure your connection by hand, or you can take the red pill and download the profile from the existing FA.
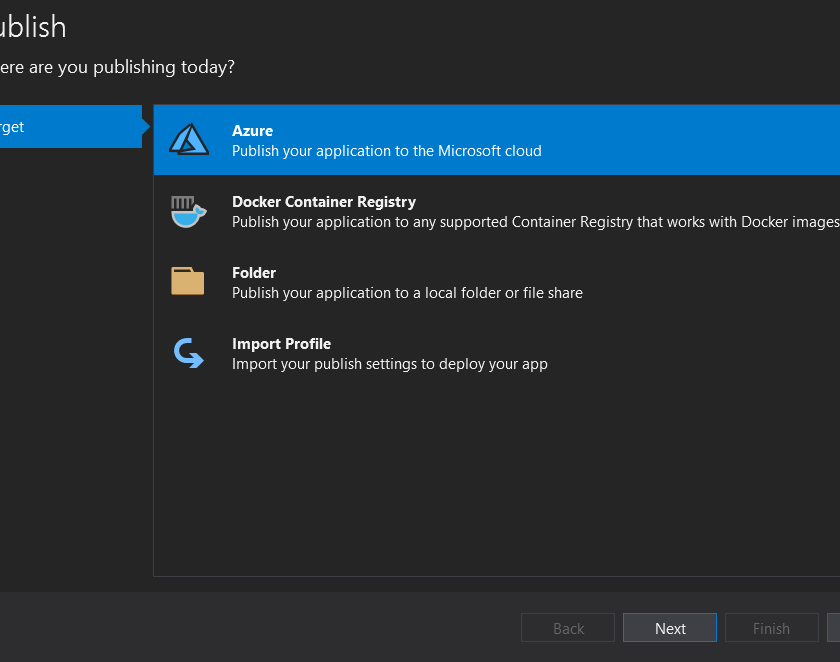

My advice: get the publish profile. Saves you time, and it’s Plug’n’Play.
And that’s it. Your newly migrated function is now ready for your CI/CD, and you can manage and version it with VS and DevOps.
Now, this does have a catch, or not, depending on how you look at it. Because we deploy using a Zip file, the code is no longer available in the Portal; you must now always use VS to view it.

I like this, because it means that from a Security perspective, no one will be accessing the source code through the portal, and it forces new Devs, and old ones too, to join the best practices policy and have everything in a proper Repo and version-controlled.
Hope you find this helpful! If you liked the content or found it useful and would like to support me in writing more, consider buying (or helping to buy) a Star Wars Lego set for my son.



1 thought on “Introducing a new brand and Azure Functions: Moving from Azure Portal to VS”