Triggering your Microsoft Flows by pressing a physical button, known as a Flic Button or Flic Smart Button from Shortcut Labs, is quite simple. I was impressed by how easy and fast it was to set up and get it working; it was literally 5 minutes!
And then you can use it for fun: Wake Up Kent Weare (the example we will be using here) or for more realistic and interested scenarios like pressing a Flic button to track your working hours (1 click to start tracking, double-click to stop tracking), block your calendar for next next hour, count visitors at an event, notify me if I have a visitor, save geographical locations, or how is your day/are you happy with the service (one click for happy, double-click for unhappy – if you have only one button).
📝 One-Minute Brief
A practical walkthrough showing how to configure a Flic Smart Button and connect it to Power Automate to trigger automated actions, demonstrating how physical IoT devices can interact with cloud workflows and business processes.
Of course, to do that, we need to have:
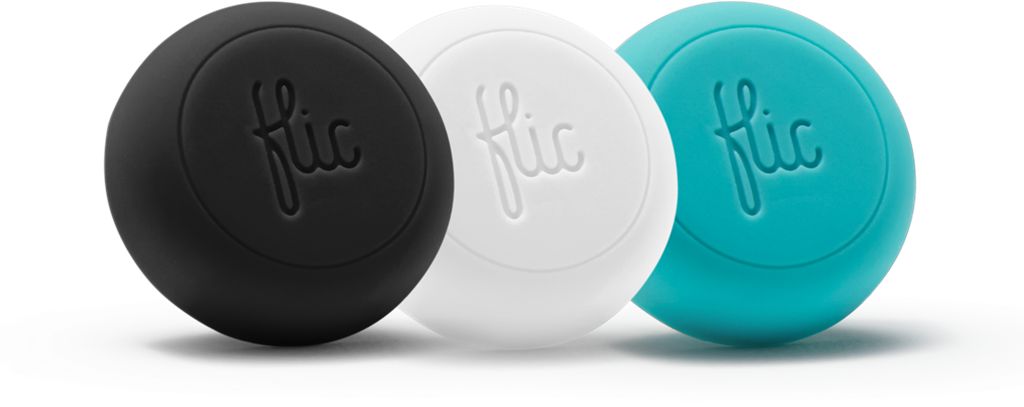
- A physical Flic Smart Button:
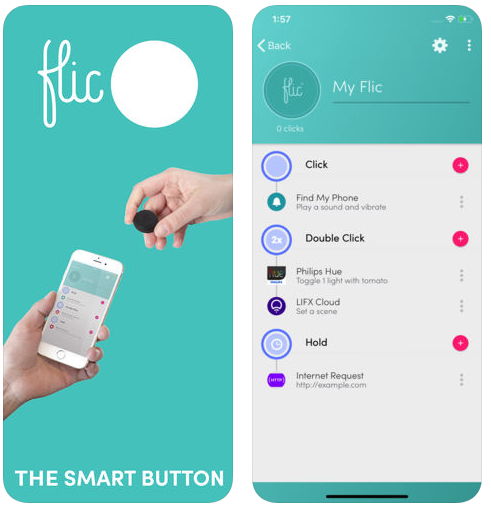
- And downloaded Flic’s Android or iOS mobile app, which you will need to use to pair one or more Flic Buttons.
After you download the Flic mobile app, to configure the Flic Button, you need to:
- Make sure that your mobile has Bluetooth activated.
- Open the Flic mobile app from your mobile phone, sign in with your credentials using Facebook, or create your Flic Account.
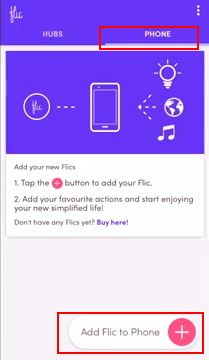
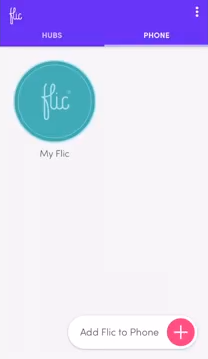
- Once you log in to the app, on the phone tab, click Add Flic to Phone at the bottom of the screen.
- Once the Searching for Flics screen appears, take or press the physical button and click it once to pair it with the mobile application.

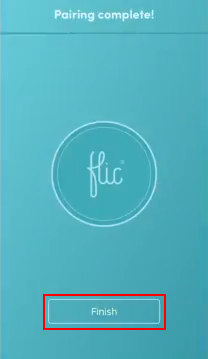
- Once the Pairing complete! screen appears, your button will be successfully paired with your phone. Click Finish to complete.
- And a button will be added to the Phone tab.
Now that the physical button is paired with our mobile phone, we need to configure the Flic’s events that the button will trigger. For each button, we can specify 3 types of events:
- Click (one quick press).
- Double-click (two quick presses).
- Hold (one long press).
To accomplish that, you need to:
- Press the My Flic button present in the Phone tab.
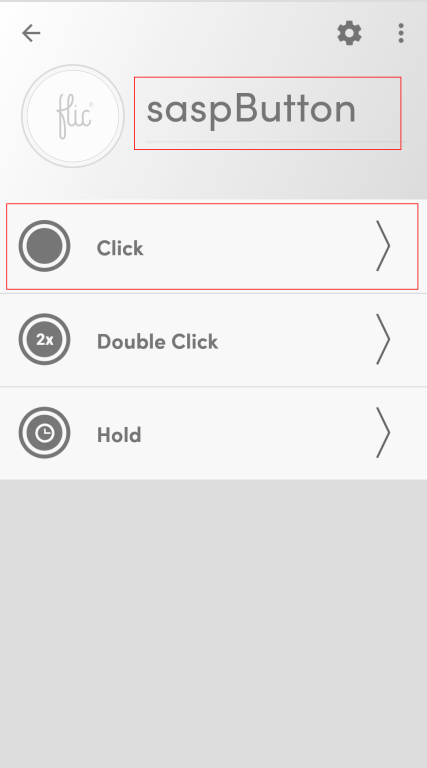
- This will open the button configuration screen. There, you should:
- Change the button name.
- And then configure one or all the 3 trigger events.
- In our case, we will configure the Click trigger event to be able to trigger a Microsoft Flow. To do that, we need to click the Click option.
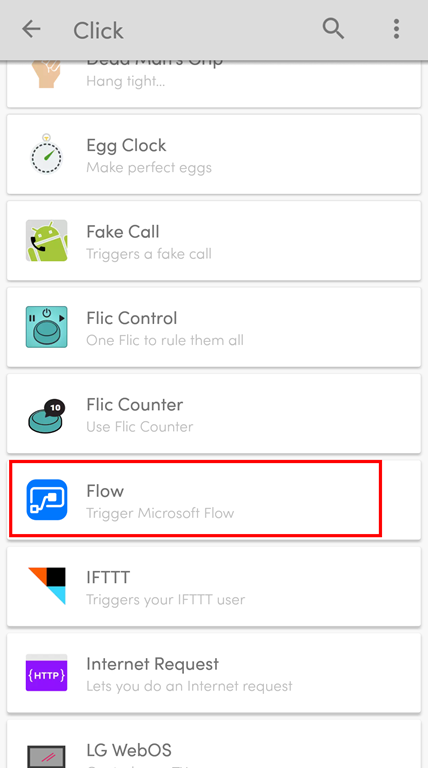
- On the Click trigger event list screen, select the Tools category option.
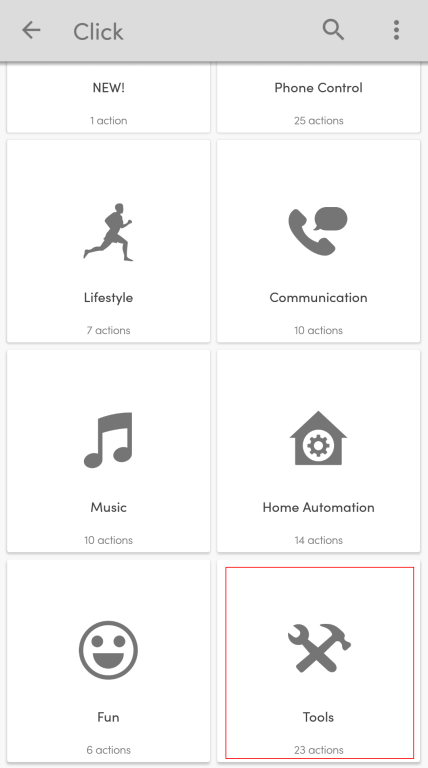
- And on the Tools category list screen, select the Flow option.
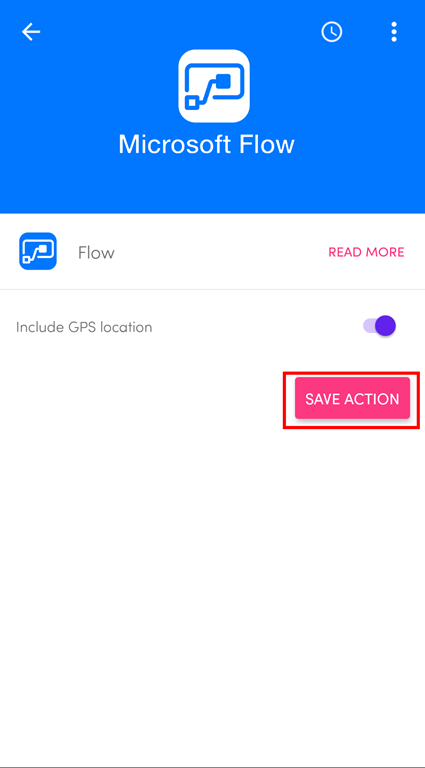
- On the Flow screen, you may or may not select to include GPS location, and then you need to click the SAVE ACTION button.
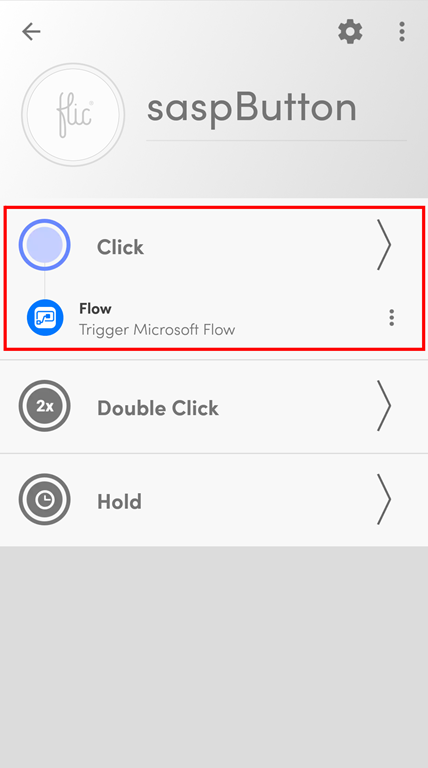
And our button will now be properly configured to trigger a Microsoft Flow when someone clicks it (one time).
Now the only thing missing is for us to create a Flow associated with this trigger event to fire a Flow process.
Once again, this demo is entitled “Wake Up Kent Weare” and will be just for fun to try to annoy the dear friend Kent Weare and try to wake him up at 4 AM US (9 AM Portugal), if he didn’t forget to disable email notifications at night, simply by clicking on a button. To do that, we need to:
- Sign in to Microsoft Flow.
- You can create one flow from scratch
- Or by typing flic into the search box and selecting one of the several templates provided by the Flow team.
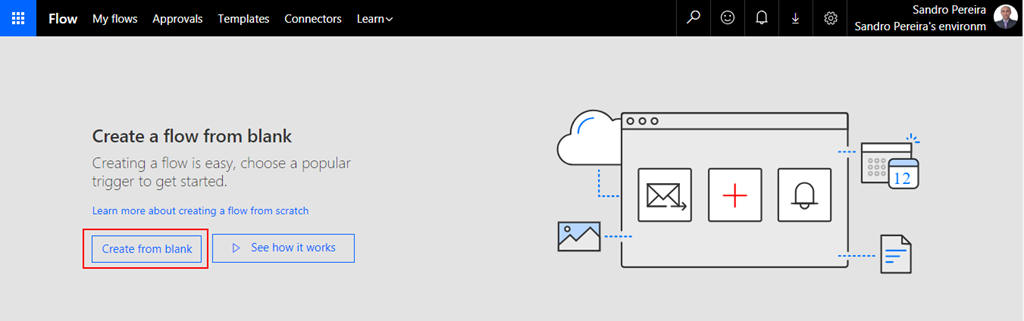
- Click the My flows option on the menu and then click + Create from blank to create a Flow from scratch.

- On the Create a flow from blank, click Create from blank to start the process of creating an empty Flow.
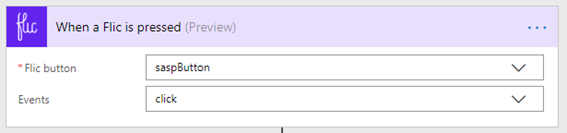
- On the Flow designer, on the Trigger event, enter Flic and select the option Flic – When a Flic is pressed.

- On the Flic Trigger configuration
- On the Flic button combo box, select the button we added in the Mobile App earlier.
- And in the Events combo box, select the click event, which is the only one we have configured.
(of course, the first time you use this trigger, it will ask for permissions, and you need to provide the authentication to your Flic account)
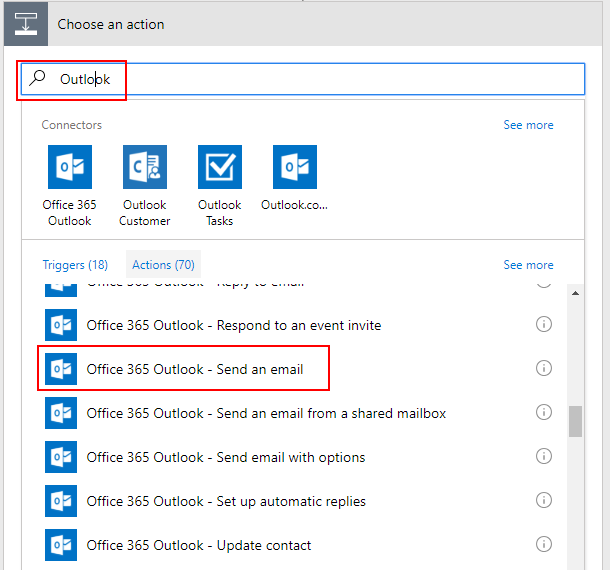
- Add the next step by clicking the +New step button and then choosing the Add an action option.

- On the Choose an action window, enter Outlook and select the trigger Office 365 Outlook – Send an email.
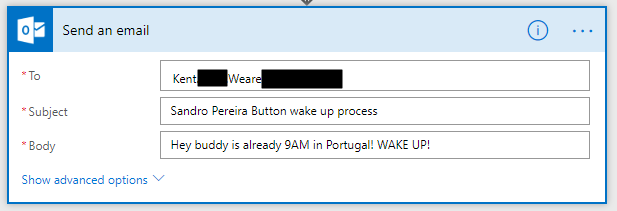
- On the Send an email action configuration, you need to specify
- The address of the recipient on the To property field
- The subject of the email on the Subject property field
- And the body of the email on the Body property field
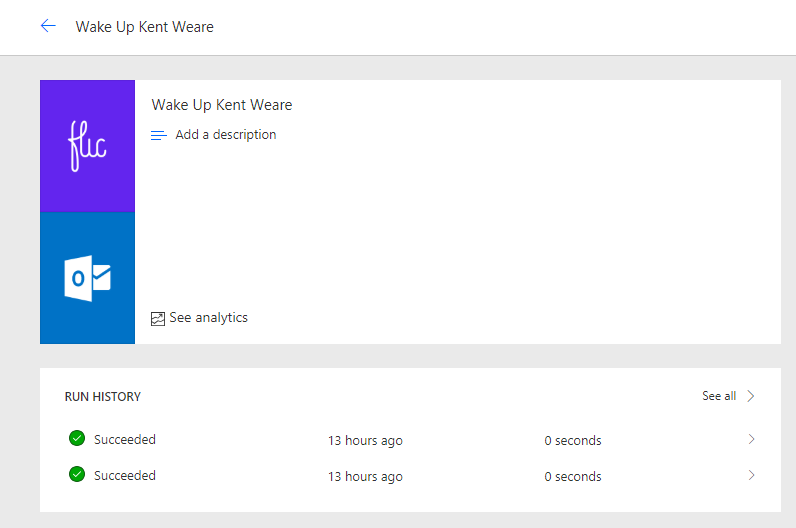
- Be sure you give a proper name to your Flow, mine will be Wake Up Kent Weare, and save it.
Now… PRESS THE BUTTON! PRESS THE BUTTON!
The Flow was successfully triggered once I pressed the button
However, the result was not what I expected 🙂

Hope you find this helpful! If you liked the content or found it useful and would like to support me in writing more, consider buying (or helping to buy) a Star Wars Lego set for my son.

