
In my previous blog posts, I talked about some of the most essential best practices you should have while working with the Azure Logic App:
Today I’m going to speak about another Best Practice, Tip, and Trick: Using Scopes.
Inside Logic Apps, Scopes have many functionalities, but it is probably best known for its ability to organize your business workflows!
📝 One-Minute Brief
Using scopes in Logic Apps helps you organize workflows, improve readability, group related actions, and implement structured error handling. Scopes make complex Logic Apps easier to understand, maintain, and troubleshoot while allowing teams to visually separate business logic, technical logic, and exception handling patterns.
#4 Using Scopes
Most users tend to think that Scopes is a strange action that is not there to do anything other than to help you organize the business logic a little better inside LA, but that is not true. The reality is that scopes have many functionalities:
- Region statement: the capability to organize your business logic and have specific areas that you can collapse and expand whenever you need them.
- Try-Catch-Finally statement: advance error handling capabilities.
Region: Organizing flows capabilities
Once you start working with Logic Apps, you quickly realize how large and complex some workflows can become. This complexity makes Logic Apps harder to read and maintain. Not everyone has a big screen or a high‑resolution monitor to reduce the problem. Instead of constantly scrolling up, down, and sideways in the designer, you can use the Scope action to group related actions. You can then collapse or expand these groups whenever needed with a simple click on the scope title.
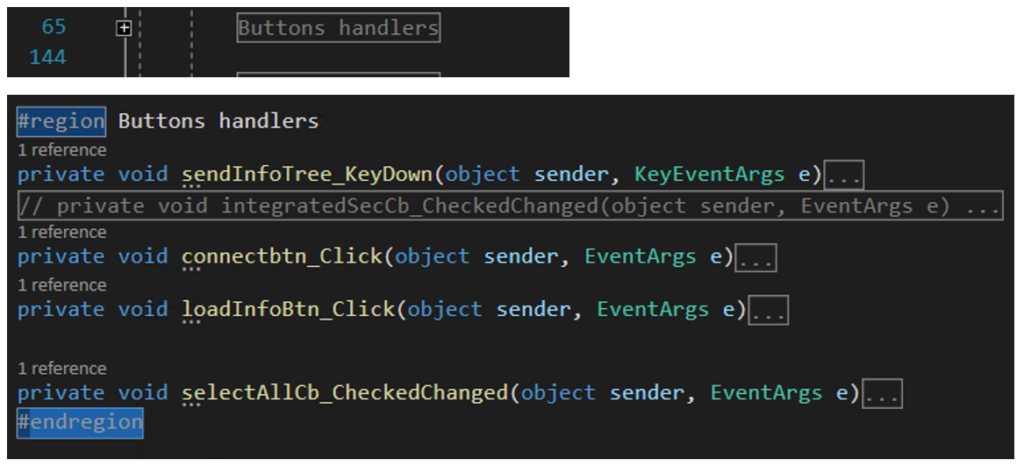
Developers use this idea in almost every programming language to organize code and improve readability. It increases efficiency and makes future maintenance easier. When another developer eventually reviews your workflow, they will thank you for it. In C#, for example, we use Regions to achieve the same goal:
The Scope action can archive the same, and you should use it wisely inside your Logic Apps. This will allow you to:
- Hide sections of the business process you’re not currently working on.
- Minimize the size and clean up your working area
- And let you focus on the actions you’re actively editing.
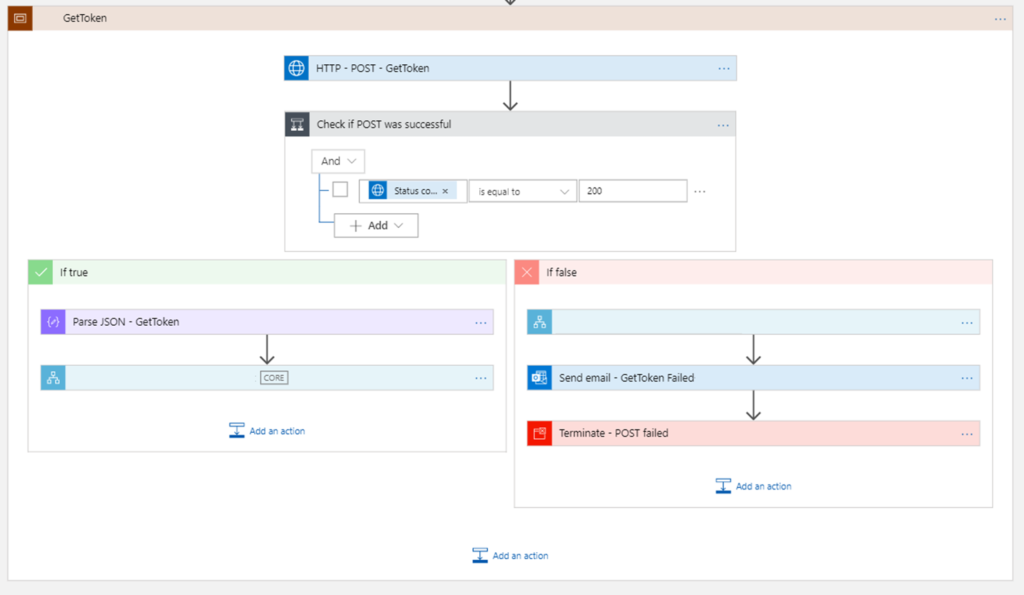

Of course, remember to apply your naming convention best practices. To make your business process easier to read and follow, give each scope a name that clearly describes the actions inside it. In our example, we used GetToken, but you can be even more descriptive, such as Get <type> Token from <system>.
Try-Catch-Finally: Advance error handling capabilities
Another major Scope capability is the ability to implement Try-Catch-Finally functionalities.
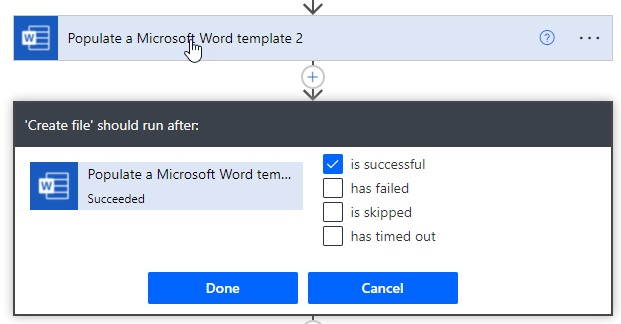
When designing a business process, one of the most important design considerations you need to keep in mind is what happens when things go wrong. By default, Logic Apps allow us to handle errors by using the Configure run after settings at a per-action level.
An upcoming action runs if the current one is successfully finished by default, but you can always change this behavior to implement a try-catch per action level.
This can be perfect for a simple business process, but in more complex or real enterprise scenarios, there will be situations where we want to handle errors from multiple actions in a single place and implement specific tasks if a failure occurs. Once again, this is quite normal in traditional programming languages like C#, where we use try-catch or try-catch-finally statements:
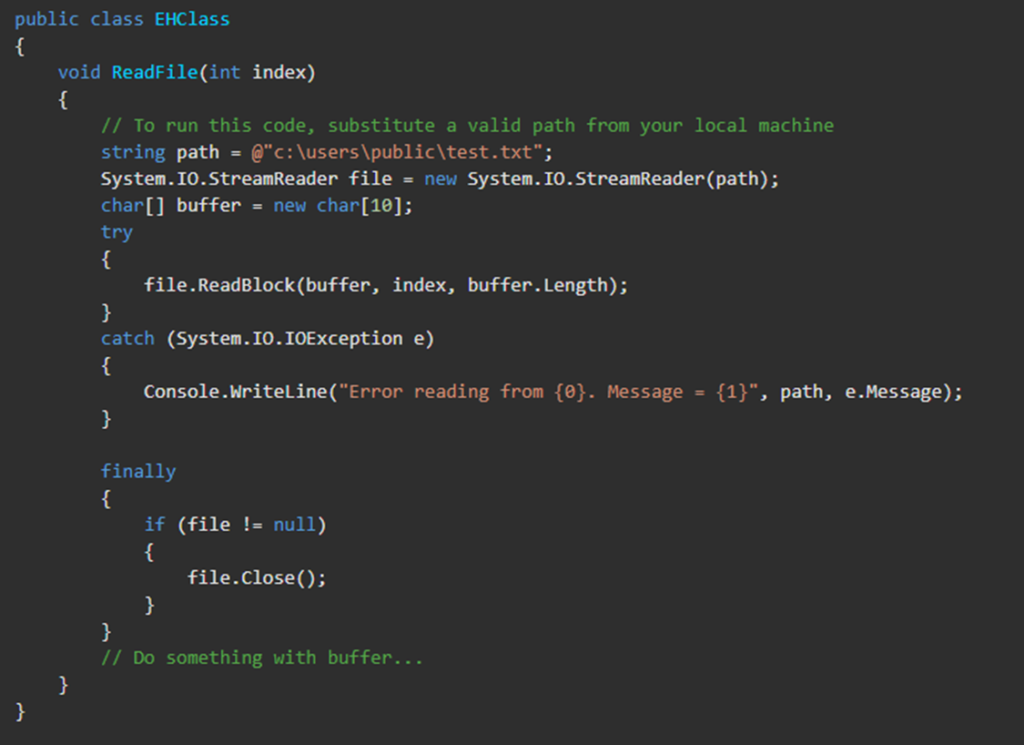
The try-catch-finally statement handles some or all of the errors that may occur in a block of code. Errors can be coding errors made by the programmer, errors caused to incorrect input, and other unforeseeable factors.
- The try statement allows you to define a block of code to be tested for errors while it is being executed –> this will be your Actions inside Logic App that describe the logic of your business process.
- The catch statement allows you to define a block of code to be executed if an error occurs in the try block –> this will be your Actions inside Logic App that you want to run if some failure occurs in the standard actions of your business process.
- The finally statement lets you execute code after try and catch statements, regardless of the result (if there was a failure inside the try statement or if everything was completed successfully).
Note: The catch and finally statements are optional, but you need to use one of them (if not both) while using the try statement.
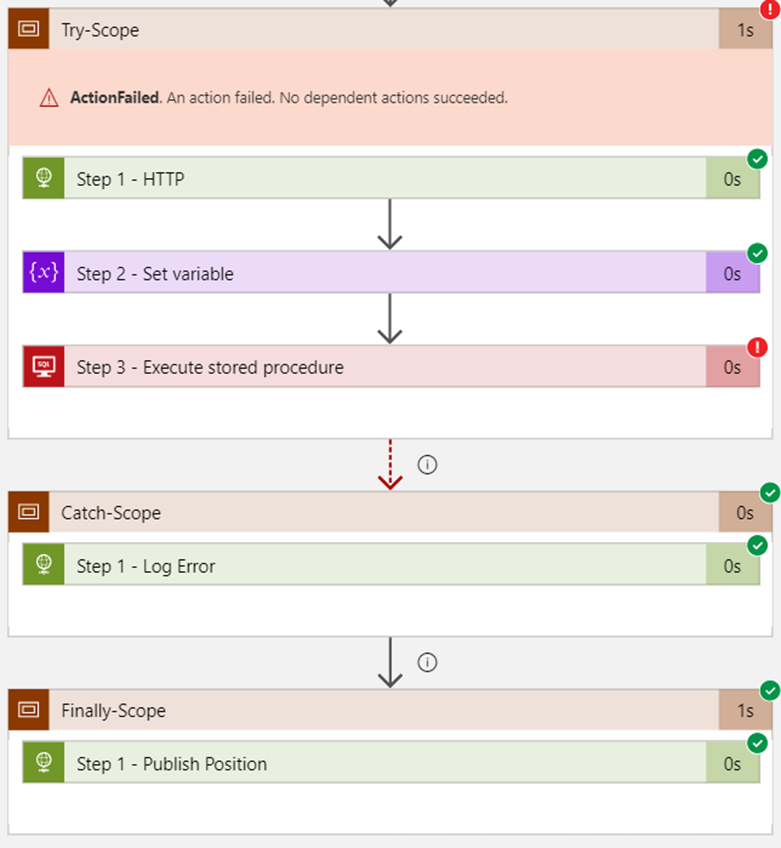
These try-catch or try-catch-finally statements can be implemented inside Power Automate flow by using conjugation of:
- Two Scopes actions for implementing a try-catch statement.
- Or three Scopes actions for implementing a try-catch-finally statement.
Also, remember to strengthen your Azure Logic App monitoring, so you have powerful tools and actionable insights to troubleshoot issues.
Stay tuned for the following Logic App Best practices, Tips, and Tricks. In the next one, we will explain these try-catch capabilities step-by-step using Scopes.
Hope you find this helpful! If you liked the content or found it useful and would like to support me in writing more, consider buying (or helping to buy) a Star Wars Lego set for my son.


Thanks Sandro. Really great insights into using the Scopes in the logic apps.
I was trying to use ‘Initialize variables’ in the scope but seems its now allowed. If I have 10 variables for example, the logic app looks quite big and I cant minimize these shapes.
Wondering if you have any suggestion in this context.
Many Thanks
Naresh
Hi Naresh, you are correct. Initialize Variables cannot be created inside Scopes. They have to be created in the beginner of the Logic App and yes, if you have many Variables, your logic app will be bigger because you cannot collapse that amount of Initialize variables shapes.
I may have some strategies to minimize this problem that I’m going to write soon but there isn’t a proper and good solution at the moment.